Barbie Chair Repaint

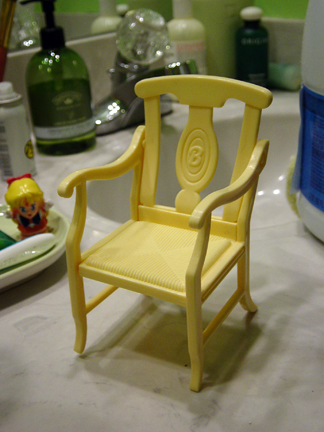
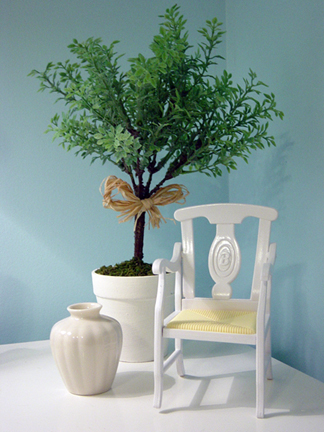
I was finally able to finish my Barbie chair repaint project after the humidity and storms broke a little bit yesterday. I’m not sure what set this chair came from, but it was imprinted with the date 1992. I was surprised to receive this chair in the bag of Barbie goods I got from my aunt, because I have never seen a Napoleon backed Barbie chairs before. I consider this one of my most successful repaints so far, and I think it will be a nice addition to the living room of the dollhouse.

After having a success with repainting, I’ve been considering repainting the sweet roses fridge I have since all of my “whitening” experiments have failed. I started by soaking the fridge in bleach, and after several hours with no change I decided to give up. Next I thought I would try the hydrogen peroxide and oxi-clean bath, but after soaking all day and night with no change in color I gave up and used the solution to clean the bathtub, lol. So after chemical lightening failed me I thought I would test sanding a small corner of the back side of the fridge, which actually lightened the fridge slightly. I decided against sanding to lighten the plastic however, because the amount of work that would be required to sand and buff the entire fridge was out of proportion with the results. I’ve figured out how to remove the pink shelves inside, but I still haven’t figured out how to remove the pink inside door shelves from the door. This presents a problem for repainting, thought I imagine I could just tape over the inside of the doors and not paint them. Anyway I’ll stop my rambling for now and just leave you with my before shot of the barbie chair before the repaint.

Barbie Sweet Roses Fridge – Refurbishment

One of my aunts is an antique dealer and knowing I was trying to put together a playscale dollhouse, she kept an eye out for old dollhouse furniture for me and found some of the Barbie Sweet Roses furniture from 1987. She actually found more than the fridge for me, there is also a kitchen set, a cabinet, sofa, chairs and a few other things, most of which are from the Sweet Roses collection. Anyway I decided to tackle the fridge first as I have been wanting a new fridge since I kinda mucked up the repaint of the hot pink barbie fridge I had.

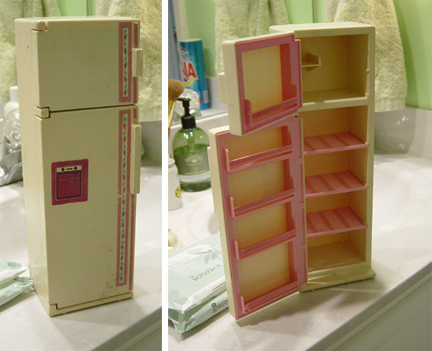
This Sweet Roses fridge had been in an attic and it has yellowed with age and heat. I know that originally the fridge was white, and inside there is some light pink detailing. The great thing about this Barbie fridge is that it’s quite a bit deeper than the current barbie fridges on the market, which means it can hold more cute re-ment food! But more importantly this Barbie Fridge from the 80s is more to scale than the newer fridges, meaning when Pullip goes to open the top freezer, she will actually be looking into the freezer and not looking at the top of the fridge. This old fridge is also much better put together as well, for example the shelves inside are nice and level and don’t sag like the latest fridge does. XP

So the first stage of refurbishment was to scrub down the fridge which was a little dirty, and to get the old yellowed and torn decals off of it. It took some effort to get the decals off, because the glue was really holding them on there. With the newer fridges, just a 15-30 minute soak in hot and soapy water will pretty much remove the cecals easy, but this one required more elbow grease. In the end after a soak in warm soapy water wasn’t doing the trick, I broke out the isopropyl alcohol and rubbed it down, finally removing the decals.

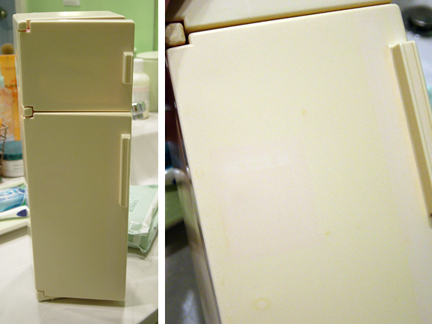
After removing the decals I noticed that the plastic underneath wasn’t as yellowed as the rest of the plastic, which is unfortunate. You can see it just barely in the pic above. Now this leads to me to decide what to do next. I’ve heard that putting yellowed plastics in a bleach or hydrogen peroxide bath can help remove yellowing, but I’ve also heard that it can make the plastics more brittle. I have also considered a repaint, but after my last failure, I’m not too keen in wrecking yet another fridge. There is also the fact that the way this fridge it put together means I can’t separate parts nearly as easily for repainting either. Whatever I decide to do, I’ll probably continue to post the results here.

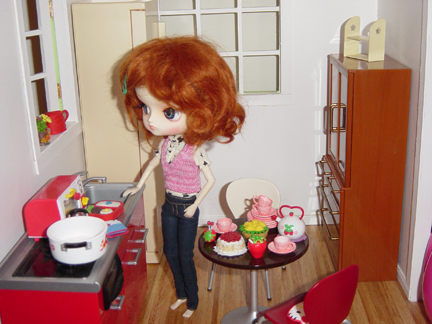
For now though I have placed it in my dollhouse kitchen and been messing around with furniture arrangement. My kitchen is really coming along now, especially since my mother found me the brown re-ment china cabinet when she was shopping in Pittsburgh. The dimensions of the Sweet Roses fridge works really well for my kitchen, it fits neatly in the space between the two windows, but I would need to make some sort of cabinet to go in the space between the red re-ment kitchen and the fridge. I would also eventually like to make some red wall cabinets to match and pull the room together more. Still a lot of work to do, but little by little I am getting there. 🙂

Dolly Find!

newdesk
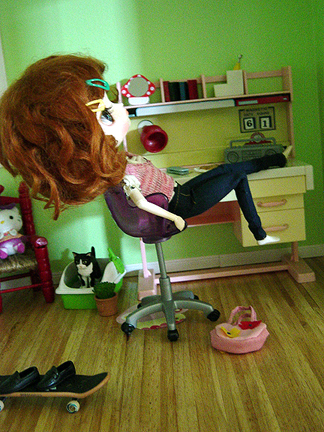
I went and did a little thrift store shopping with my cousin when he was out here a couple weeks ago and I found this cute little vintage desk from the 70s! It works great in Edie’s room, and then I was able to move the armoire down into the nearly empty living room, yay. Besides the desk there was some other furniture that came packed together with it, which were a beige armoire and vanity set complete with seat, as well as a small table and chair. These toys were made for a type of doll that was produced back in the early 70s and turned out to be perfect Pullip and Dal sized items because they are a little more oversized than the Barbie furniture and thusly are a better fit due to the added height of the head size on Pullips and Dals.

Anyway I got the whole bag of toys for only $5.00 at my local DAV, so I am going to highly recommend thrift store shopping to search for doll clothes and furniture. The DAV and AmVets are better though than your run of the mill Goodwill because they have more toys and they are packed in plastic bags. Goodwill seems to only have a lot of larger toys. Also it is possible to find bags of dolls/doll clothes as well. I saw a pack of doll/doll clothes there that I was tempted to buy for $3.00, but the bag was heavy on the dolls and had less so much clothes. I think there is a certain amount of luck and timing to get a good find, but when you do it will totally make your day! It totally made my day to find that little desk, which subsequently I researched online and came to find that it is actually worth around $50-$60 these days! (O-O)!!

Dolly Find – Eraser Miniatures

crazerasers

Ack! I realized that I have been neglecting this blog! Lately I’ve been trying to focus a little more on my comic work, so it’s making my other hobbies suffer. I am hoping though to be able to have a chance this weekend to play around with my dollhouse and the new miniatures I have gotten for it. Then maybe I can post some pics! I also have a DIY Pullip Bed post I need to make at some point as well…..Anyway on with the eraser miniatures though.

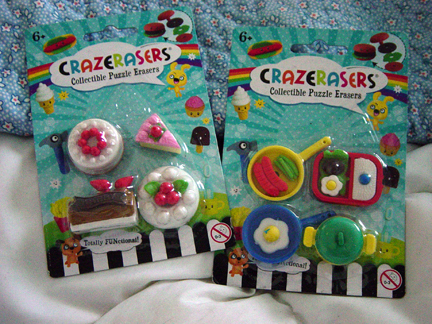
I found these “crazerasers” in the Easter section at Target the other day. They are around with all of the Easter Basket toys. Anyhow these are the perfect scale for Pullip & Dal, and they are cheap at only $1.19 a set. Besides the two sets seen here they also had a bathroom item set, some sports sets and another food set that I have forgotten about. Now as cute as these are there are a couple drawbacks, but I think the drawbacks can be forgiven for the cheap price. Drawback one is that the little separate pieces, like the sausages in the fry pan, actually have a little nub underneath them which plugs into a hole in the skillet. If you, like me, do not want the nub, you could just carefully carve it off with a Xacto blade since they are erasers. The other drawback is that they are going to need some trimming, as some pieces will have a little fringe at their seam edges from the molds. Again though that is easy to take care of with an Xacto blade.

A Word on Dollhouse Flooring

dollhousewoodfloor

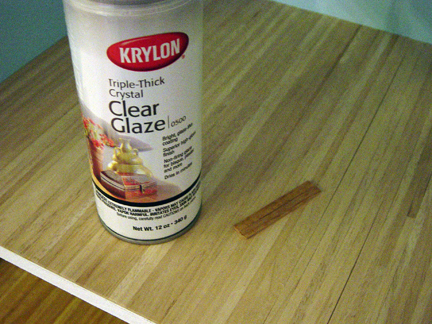
I though I would share with you a couple tips/techniques when dealing with wood flooring for your dollhouse. First of all there are lots of different types of wooden dollhouse flooring, but I am dealing with Hobby Lobby’s Mayberry Street pine wood flooring. This flooring does not come with any stains or lacquer on them. The unlacquered floor you can tell from the pic above is lighter and also duller than lacquered flooring. Now you can if you want, just install the unlacquered wood floor, but really it is going to be better to lacquer your floor. First of all the color becomes richer when you lacquer and also it helps to protect the wood…not that you should be getting heavy foot traffic in your dollhouse or anything, lol. Besides that it also adds a polished and realistic look to the house.

As for laquering your flooring, there are two ways you can go about it, you can use a brush on varnish, or use a spray lacquer. I decided to go with the spray since I already had some available, and I felt I could get more even coverage with the spray. As you can see from the pic above I used Krylon’s Triple Thick clear spray, and it took about two coats to get the coverage I wanted. I think it also did a nice job of bringing out the color of the wood as well.