2015 Dolly Goals

Since I have sorely neglected my dollyblog this year and so many people are creating their 2015 doll goals, I thought maybe I should also make a list as maybe it will help me keep on track and not forget my dollies this year. ><;; Actually there was a lot of dolly stuff that happened in 2014, but I either instagrammed it or tumblr’d it, or what have you. So I will quickly recap the things I missed blogging about here before I list my goals.

First off, the big thing was I saved and finally purchased my Supia Zion during their summer event and also received Giyom’s event head. I collected eyes, wig, clothing and etc.. for him but I have yet to paint his face. The second most important thing is that I was able to get a Merry Doll Round Fang head! I’ve loved that sculpt since I first saw it, but I thought the artist had abandoned doll making, but no she has come back and I am more than pleased to have my Fang, even without a body and faceless, lol. You can see a box opening pic for the head on my instagram here: My Fang Box Opening! Lastly I went crazy on heads last year because I also bought a Granado Jaden head that I just fell in love with. He is a mature Asian looking man, and I just couldn’t resist. Alas he is still faceless and bodyless as well lol. This brings me now to the new year and my goals are as follows:

1 – Most importantly I want to be able to allow myself more “dolly time”! Since I am going to adopt a new approach to my well being by giving myself a “gift” every day, I have decided that giving myself dolly time on any given day would be a good gift. So I will endeavor to give myself more free time rather than being so hard focused on drawing every second of the day. ><;;

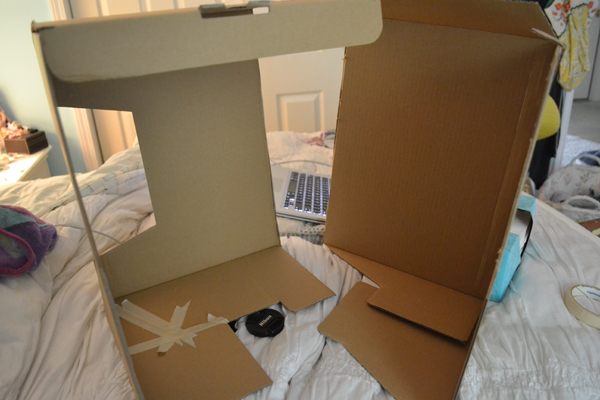
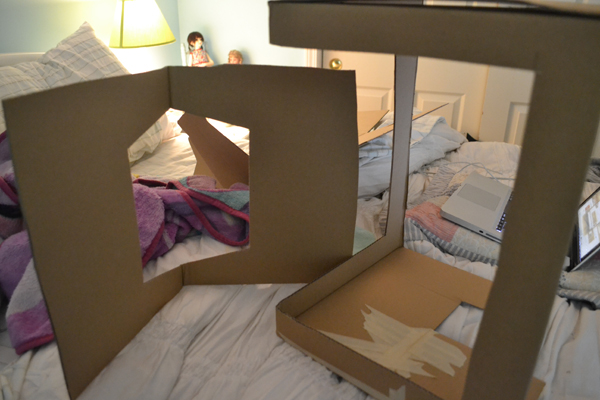
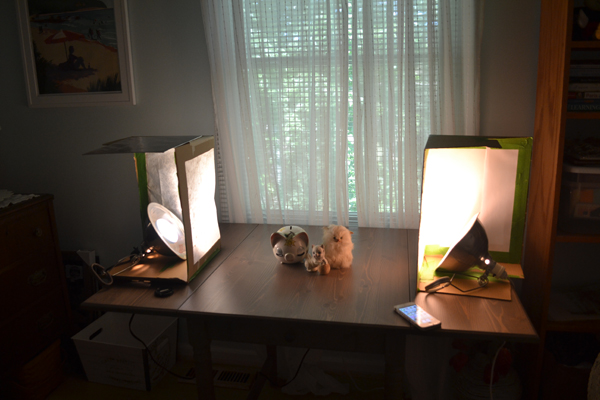
2 – I want to improve my photography skills and actually make an effort to bring out all my SD sized room box and props. If I don’t do a full blown doll photoshoot with my props at least twice this year I will consider this goal a failure. (‘x’)

3 – Give face-ups to my blank heads and improve my face-up skills. I plan to start with Zion since he has a body and then move on to Fang next. Ultimately I am considering using the Giyom head to practice face-ups on, but I also see a lot of potential in his sculpt and should he happen to turn out fantastically one day, he may wind up being more than a practice head.

4 – Finish the rehab on the 1/12th scale dollhouse my grandfather made for me when I was a child. Yes, that poor house is sitting unfinished on a bookshelf next to my bed. I can look over at it every night and it looks like a tiny haunted house with all of the windows out and tools strewn about inside.

5 – In the same vein as the dollhouse rehab, I would also like to make a lot more props for all scales of dolls in the new year. I would like to build a 1/3rd scale table and chairs as well as try my hand at making various faux foodstuffs out of sculpey, and anything else that comes to mind.

6 – Finish incomplete monster high repaints. I have at least one wiped head and another doll lying around waiting to be customized. I would like to finish those customs and improve my face-painting skills. Also if I can swing it, I’d like to redo the face of my Clawdeen which I have never been perfectly happy with.

7 – I’d like to be able to add to all of my dolly wardrobes either by sewing clothes myself or purchasing some items. Money will be tight this year however since I have an art goal to get a cintiq which takes precedence over dolly things since this is more of a hobby for me.

8 – I’d also like to have another go at trying to sculpt my own doll this year. I have a few sketched plans lying about, and a few new ideas for an adult doll in roughly 1/6th scale that can be used in dioramas.

9 – If it is at all financially possible after meeting my cintiq goal, I would like to finally get a body for my Little Rebel Seven head. He’s been sitting all painted up in his box too long. (T_T) I am leaning towards a Spiritdoll elegance body for him mainly because of the three jointed torso, but I still really love Dollstown’s 60cm boy body.

10 – Lastly, just to round this off at 10, even though this could be included with number 1, I’d like to not neglect this blog as much. If I can find something to post about at least once a month, I’d consider it a success.

So, I think that’s it for most of my goals for the year. I don’t honestly think I will be able to make all of them, but at least seeing my plans laid out, I can attempt to knock as much off the list as I can, and anything not accomplished can become the following years goals….got to start somewhere! 😉

SD/SD17 Size Roombox Project

Well I guess I decided to go crazy and I’ve started building a gigantic room box to use as a backdrop in my doll photography. This particular room box was designed with my Mio/Zaoll hybrid in mind who is 52cm, as well as my future plans for a 65cm boy, as well as leaving the window open for it to work well with the 60cm dolls. Beyond that I also have the hope that my MSD sized dolls could also make use of the space as well despite it being more to the scale of the 52cm to 65cm dolls. Another key point in making this piece is that it absolutely has to be collapsible because I just do not have the space for the sheer size of this thing! Anyway enough introductory blabber and on with the production. 🙂

planning

So as with all large projects, it’s best to start out with a plan on some graph paper. I spent a couple days researching other room boxes and then took extensive measurements of my current dolls as well as the few key props they have like chairs. Because this house must also work for 60-65cm dolls as well I also sketched their sizes into my plan mock-up so I could have a better idea of how big my window needed to be. I knew I wanted the window to be large and I also wanted all of the dolls to be able to look out it and to be able to open it (it will be a casement window on pin hinges that I will have swing out and/or in). In the end my window ended up being 10 inches wide by 18 inches long….it’s a long window, but it enables all the heights of dolls to look out it.

Speaking of measurements, here is what I arrived at for my final dimensions…The room box is 47 inches wide, 31 inches deep and 33 inches tall. To keep this in perspective, it’s about 75cm in height so even a 70 cm doll could stand and be photographed in it, though I feel those dolls are probably a bit too big for me to handle. ^^;

Now on to the materials I chose. For the walls I decided to go with 1/4inch birch plywood, because the walls will be hinged, I knew that the weight and size of the 1/2 birch plywood would be too unwieldy for me to comfortable handle. The only problem with using 1/4 birch plywood for the walls though is that at the size needed for the 60cm range dolls, they wouldn’t be very stable. My dad gave me the idea though that to rectify it we could make a “frame” on the back of the boards out of 1 inch thick 2 inch wide boards the length of the walls. For those boards I just used some packaged Aspen because I didn’t want to deal with the less expensive but lesser quality boards which could have warping or cause other problems. For the base I chose 1/2 inch pine plywood. The base needs to be solid to hold the walls and they will also suffer the most as it is the floor afterall. Lastly I needed hinges and they needed to be long with how we were going to butt the walls together in the corner, so we went with strap hinges.

gluingframes

Ok, so after planning and buying all of the necessary wood, we started on building it the next day. I’m going to say that if you have help, getting the bare base of your room box done is totally do-able in a day. The above picture was taken after we had cut down all the of the boards to their proper size and had cut out the window. I will mention that to cut a window you will need a saber saw and a drill. You drill a hole somewhere in the middle of your window (the part that will be cut out and scrapped). The hole needs to be big enough that you can fit the saber saw blade into it. Once you do that start up the saber saw and start sawing at a smooth curve towards your cut line so that when you meet with your cut line you will be parallel to it, then just follow your line as straight as humanly possible. If you fudge up a little bit, it won’t matter, and don’t expect the window cut to be perfect…you will frame it out later anyway so if there are a couple little wobble gaps, those will get filled in with putty and eventually covered with the window trim. That’s getting a bit ahead of ourselves at the moment though, so I’ll talk more about that later.

So, after everything is cut and ready to go, it’s time to apply the frames, we mitered the edges of the frame, but you don’t need to get as fancy if you don’t have the appropriate saw for the job. Just butting the wood together in L-shapes will suffice. After cutting all of our frames to the proper length we started by gluing the frames to the back side of the wall. Because the walls had a slight warp in them we clamped down all of the frames to the wallboard and let the glue dry for around an hour. Afterwards we put a nail through where the two frames met for added support and then used a special long and narrow staple to really secure the walls to the frame boards. It was keep at the minimum though because each staple creates a hole in the wall that will then need to be puttied and sanded to finish…less holes equals less work! However we were sure to do as many as we felt we needed too.

roombox-blank01

Ok, so after putting the frames on both walls, we then applies the hinges and set it on the base. You can kind of tell from the house interior that this thing is HUGE! XD Haha, maybe it’s overkill, but I’d rather have it be bigger than is needed than too small. Anyway I’ll go more into detail about the exact construction here with a few more photos.

wallback

So here is a shot of the back of the box and you can see how the hinges are situated. The side wall “nests” against the back wall but the back wall’s frame edge comes out and meets flush with the edge of the side wall frame. It’s probably easier to see it so I got a close-up shot of the hinge.

hinge

Here I think you can see the construction a little better. Basically you need to have your boards in position so that each hinge flap is PARALLEL to the board it is on so that it will come around and fold flat. This is how we arranged the wood so it does that. There is only one problem here however, but it will get fixed tomorrow and that is that the way the screw holes are positioned on the hinge, only one screw (the far one) is on the side wall’s frame. Tomorrow we plan to drill a hole through the metal in order to attach one more screw close to the edge for the frame board to prevent jiggling.

channel

Now I want to show you the base real quick. We decided to try out sawing small channels for the walls to drop into for added stability. I feel the verdict is still out on whether or not it was a good idea, lol. Because the base also has some slight warping it’s a bit tricksy to get the walls to fall into the slot proper, but when it does it looks fine. If you were planning to make a room box of your own you could consider this an option, but I also tested setting my walls directly on my base (without slipping into the channels) and it also seemed fine. Lastly it pays to keep in mind that you can add baseboards to your walls to cover up any gaps you may have and make things look nice and tight.

foldingthehinges

I thought I would go ahead and show you how this thing closes over on itself. I think it also helps to illustrate how it was constructed. You may also notice in this picture the small holes left by the nail gun from the staples. As I said before, those will be filled in with wood putty and made to be invisible. 🙂

folding02

And further we go….Here you can see how the two hinge holes on the side wall don’t really get any purchase, on the side wall’s frame board. This gets fixed tomorrow though as we will make a new hole and add a screw.

folded

Lastly you can see here how it folds up. The side wall will end up protecting the window nicely from one side. If I do store this between the bedframe and the wall I will more than likely secure the window and then have the window side face the wall. If under the bed storage, I’d probably lay the window side down on the base.

So there you have it, this is the basic construction of the room box. Now comes the painting, flooring, window making and etc… to truly finish the piece. I’m hoping to have a little more time to work on it this weekend, but come Monday it’s back to work for me. XP Anyway I’ll be sure to share more things as I get them done…thanks for reading! I hope if you decide to build your own room box you have success!

Going to be making a small adjustment to the blog name.

I just wanted to mention it here so nobody is caught off guard, but I plan to change the blog name to Little Stars slowly over the next week or so. I feel it better matches the blog which is mostly about dolls and dollhouses. Originally when I had first started this blog I had been into making my own handmade paper and stuff, hence the “paper” in “paper stars”. Now my paper crafting has taken a backseat to all of my doll clothing and miniature making. 🙂 This name change will also make the blog match better to the clothing line I started in my etsy shop as well. The last thing that will change is the site banner since it will be the most difficult part to edit.

Experiment Light Diffuser.

I’ve seen a lot of neat little tutorials where people with smaller 1/6th scale dolls have made little light box diffusers to photograph their dolls in with a nice soft looking studio light. The only problem is that if you have anything larger than a YOSD or a Blythe you may find it difficult to create a light box big enough. On top of that if you wanted to photograph a room box with your dolls that also presents a problem. So I thought to myself, why can’t I just make some diffusers to use when I make a set for my MSD girls? And then I decided I would try it. 😉

diffuserbox01

So I started with a box, in this case it was a lamp box my mother saved for me after she bought this lamp at Ikea. I feel like I’m advertising for them now or something, lol. Anyway….

diffuserbox02
I slit the box down two corners, and this would be two corners diagonal from each other so in the end you wind up with two triangles of box and some bits of attached lids and bases.

diffuserbox03

After securing the box with some tape on the base so it will keep it’s triangle shape and won’t move on me, I decided the orignal lamp box opening wasn’t big enough and I decided to cut out a large rectangle of cardboard being sure to leave a good 2-3 inches around the outside.

Unfortunately I forgot to take a picture of the next step, but after you cut your window holes in the boxes you will want to tape a thin paper or tissue to the inside of the box, covering the window hole. The paper/tissue is going to be the part that acts as your diffuser, the rest is there for support.

diffuser04

So here are my diffusers in action. You can see how I taped the paper to the windows, and basically I set clamp lamps inside. If you want to angle your lamps in a specific direction, you can put a heavy object like an art history book on the base for support and clamp your lamp to the side or top of the box. I imagine with a little work you could probably even figure out how to hang the box around a lamp that is higher up in the air, but I didn’t try anything like that.

diffuser06

Annnnnd here is a test shot I took using the diffusers. In the end I applied a cooling filter to the image because these shots wanted to come out orange which kind of told me they were a bit under exposed, however I was using a low watt incandescent so there’s that too. Since I only have the kit lens on my camera I’m going to have to either add more lighting or get a new lens with a larger aperture setting. As it is, these were all shot at 1/60th at f3.5 which is the most my len’s aperture can open.

Anyway you can judge for yourself if you’d find something like this useful for your doll photography. For me the verdict is still out on these boxes. I am going to try working with them again when I plan to photograph my sewing projects and then make my decision. I might also use a more powerful light with more of a cool cast as well. If I come up with anything new I’ll be sure to blog about it!

Rejuvenation and Redesign Planned. :)

I’ve decided I’d like to try to be a little more serious about my little doll and toys blog here. I’m not sure if I will be able to manage it with all of my comic and illustration work, but I literally am looking at, enjoying, or doing something related to dolls and toys every week so I don’t see how I should fall short of material!

With all of this said, I will start with a re-design to make this place look a little more attractive and I’m probably going to try to suss out the categories and make them more organized. So please excuse any mid re-design ugliness and construction dust while I work on the new design (^_^;). I am also still considering a name change for this blog. Originally this started as a craft blog idea back when I made my own handmade paper and such, but now the name “Paper Stars” I feel just isn’t reflecting the content of the blog any more. ^^;;