It’s been a while ^w^;;

It’s been a loooong time since I’ve used my dolly blog and in truth doll stuff has been happening, but with maintaining 2 webcomics and other work, this blog has become neglected.  I want to try to remedy this and I have a couple blog posts planned but for now I wanted to mention that I’m sculpting again!

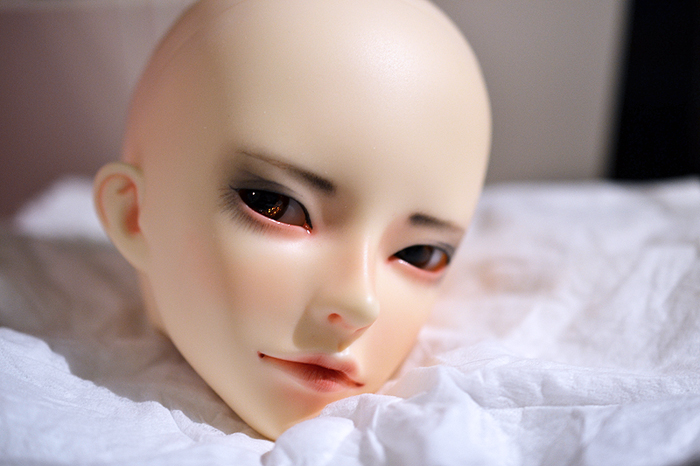
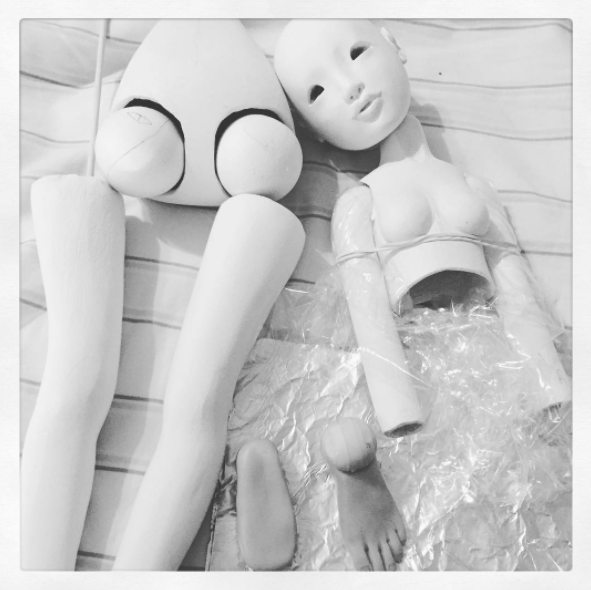
I don’t think I’ve ever shared this girl on the blog, but I am working on a kind of tallish mature MSD sized girl.  I’ve posted some progress shots for her on my Instagram.  My goal is to eventually make an artist cast of her and then have her sent off to be professionally cast.  If I can’t manage a professional casting then I will probably be happy with making my own artist cast of her for myself as I want her to have a “birth” in resin because I still think she has a cute face here a year or more later since I started!!

Anyway let’s hope I can finish her!!

2015 Dolly Goals

Since I have sorely neglected my dollyblog this year and so many people are creating their 2015 doll goals, I thought maybe I should also make a list as maybe it will help me keep on track and not forget my dollies this year. ><;; Actually there was a lot of dolly stuff that happened in 2014, but I either instagrammed it or tumblr’d it, or what have you. So I will quickly recap the things I missed blogging about here before I list my goals.

First off, the big thing was I saved and finally purchased my Supia Zion during their summer event and also received Giyom’s event head. I collected eyes, wig, clothing and etc.. for him but I have yet to paint his face. The second most important thing is that I was able to get a Merry Doll Round Fang head! I’ve loved that sculpt since I first saw it, but I thought the artist had abandoned doll making, but no she has come back and I am more than pleased to have my Fang, even without a body and faceless, lol. You can see a box opening pic for the head on my instagram here: My Fang Box Opening! Lastly I went crazy on heads last year because I also bought a Granado Jaden head that I just fell in love with. He is a mature Asian looking man, and I just couldn’t resist. Alas he is still faceless and bodyless as well lol. This brings me now to the new year and my goals are as follows:

1 – Most importantly I want to be able to allow myself more “dolly time”! Since I am going to adopt a new approach to my well being by giving myself a “gift” every day, I have decided that giving myself dolly time on any given day would be a good gift. So I will endeavor to give myself more free time rather than being so hard focused on drawing every second of the day. ><;;

2 – I want to improve my photography skills and actually make an effort to bring out all my SD sized room box and props. If I don’t do a full blown doll photoshoot with my props at least twice this year I will consider this goal a failure. (‘x’)

3 – Give face-ups to my blank heads and improve my face-up skills. I plan to start with Zion since he has a body and then move on to Fang next. Ultimately I am considering using the Giyom head to practice face-ups on, but I also see a lot of potential in his sculpt and should he happen to turn out fantastically one day, he may wind up being more than a practice head.

4 – Finish the rehab on the 1/12th scale dollhouse my grandfather made for me when I was a child. Yes, that poor house is sitting unfinished on a bookshelf next to my bed. I can look over at it every night and it looks like a tiny haunted house with all of the windows out and tools strewn about inside.

5 – In the same vein as the dollhouse rehab, I would also like to make a lot more props for all scales of dolls in the new year. I would like to build a 1/3rd scale table and chairs as well as try my hand at making various faux foodstuffs out of sculpey, and anything else that comes to mind.

6 – Finish incomplete monster high repaints. I have at least one wiped head and another doll lying around waiting to be customized. I would like to finish those customs and improve my face-painting skills. Also if I can swing it, I’d like to redo the face of my Clawdeen which I have never been perfectly happy with.

7 – I’d like to be able to add to all of my dolly wardrobes either by sewing clothes myself or purchasing some items. Money will be tight this year however since I have an art goal to get a cintiq which takes precedence over dolly things since this is more of a hobby for me.

8 – I’d also like to have another go at trying to sculpt my own doll this year. I have a few sketched plans lying about, and a few new ideas for an adult doll in roughly 1/6th scale that can be used in dioramas.

9 – If it is at all financially possible after meeting my cintiq goal, I would like to finally get a body for my Little Rebel Seven head. He’s been sitting all painted up in his box too long. (T_T) I am leaning towards a Spiritdoll elegance body for him mainly because of the three jointed torso, but I still really love Dollstown’s 60cm boy body.

10 – Lastly, just to round this off at 10, even though this could be included with number 1, I’d like to not neglect this blog as much. If I can find something to post about at least once a month, I’d consider it a success.

So, I think that’s it for most of my goals for the year. I don’t honestly think I will be able to make all of them, but at least seeing my plans laid out, I can attempt to knock as much off the list as I can, and anything not accomplished can become the following years goals….got to start somewhere! 😉

Little Rebel Seven – Face-up!

seven-faceup700w

I finally had a chance to give my Seven a face-up. It actually took 2 tries since I bungled the first iteration of this face-up and had to wipe it off. ><;; Anyway I just feel excited because I feel like a "leveled up" in the face-up department with my last two dolls (Zaoll Luv and LR Seven). I still have a long way to go I think, but I am starting to feel more confident. This face-up is also my first time painting the face of a boy doll. I was really nervous about attempting this, but as it turns out it's not much different from painting the girl's faces. I still need to get my Seven a proper wig, pair of eyes annnnd yeah, even a body. ><;; I'll be tackling the wig and eyes first since they are less costly and I'm still trying to hold onto my savings since I'm also still hoping for a Supia event with a boy re-release. Oh well, it gives me lots of things to look forward to in the end. I just hope I can get him a body before the end of the year.

New School Uniforms!

sona-luluwork02

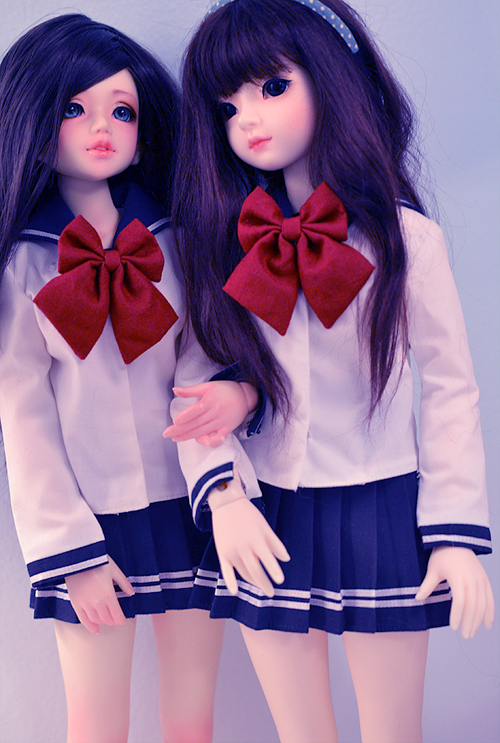
I had been meaning for a while to get matching school uniforms for Sona and Lulu, but I hadn’t until recently found a uniform that fit what I had envisioned for them and was not cheaply made or overpriced. Then I stumbled upon this little site called Promise of the World. They had previously been on etsy and moved to their own website within the past year. They are also on taobao, and what first impressed me first about them is that they don’t inflate their prices for the western market and their stuff is adorable and well made!

I ordered the two sets of uniforms last week on Monday and they just arrived to me today (the next Monday). They had listed on their website that everything was in stock, and apparently it was! The quality of the items I received also was very good and just like the images on the website. The outfits are super cute and very well sewn, though nothing is lined which I know isn’t typical, but the more expensive brands are often lined so I thought I’d mention it. My Sona’s bright pink camisole showed through the white fabric, but what can you expect when it’s bright pink, lol. Either way the problem was easily solved by just removing her cami. A particularly nice touch was the fact that each bow is threaded onto a silken ribbon with a slip knot in the back, so you can easily attach it to your girl’s clothing under the sailor sash. What’s also really nice is you can kind of mix and match your sailor uniform parts to make something a little more unique for you. Aside from the red ribbons, I also purchased two of the pale blue scarves so I could switch out if I wanted.

Overall I am very pleased with my purchase, it shipped fast and is quite lovely. That being said though I didn’t get a shipping notice and I was actually prepared to contact them today about when my order might ship, but then lo and behold I got a text from DHL telling me my package was going to be delivered. So in the end I would recommend them and I would probably buy from them again if they had some things I liked, for the price it can’t be beat!

Glue Testing for BJD Wig Making Part 2

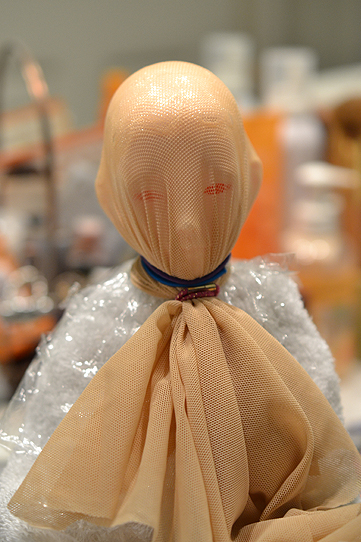
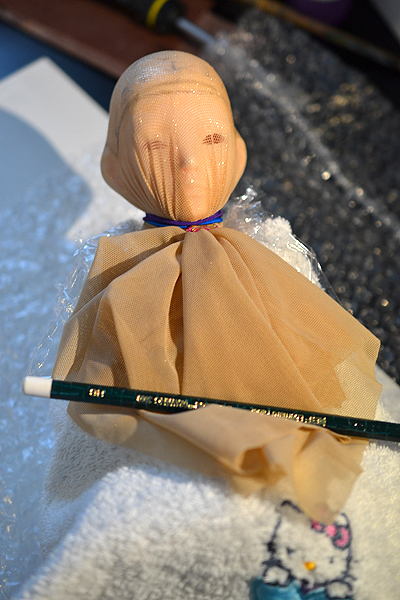
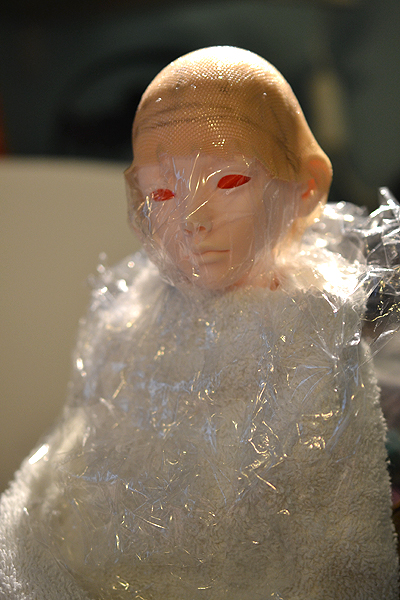
So I continued with my tests in the first part of this post and I went ahead and made a full wig cap using Loctite’s vinyl/fabric adhesive and the power mesh material. Following the directions in the wig making tutorial on DoA, I wrapped my Zaoll’s head in saran, covered her body in an old washcloth and then used old hair bands to stretch the power mesh fabric over her head.

glueprocess01

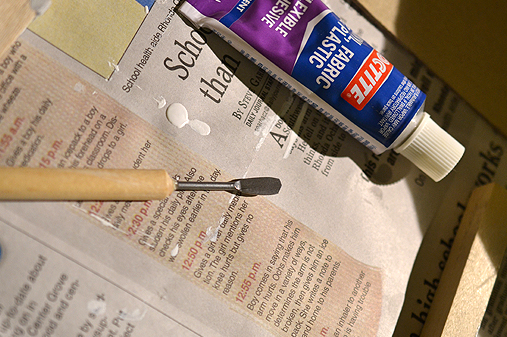
Here she is after having the fabric stretched over her and one application of the glue. I should also mention that is it going to be helpful to have a tool to spread this glue because it is very messy and is not pleasant to get on your fingers. I used this small metal spatula shaped clay tool which you can see below.

claytool

The glue is easily washed off the metal tool after you are done applying the glue, and if you happen to accidentally leave some glue on it you can easily scrape it off since this glue does not bond to metal well. After you apply the first layer of glue you need to let it dry for about 2 hours, then I recommend you add a second coat for durability.

glueprocess02

Here’s my girl now with her glue all dried and I started drawing out the hairline where I plan to cut the cap. It was recommended in the tutorial that you also mark which direction you want your hair to go, this is helpful if you are gluing small batches of hair at a go and have a complex hairstyle. For me I have pretty much decided to use a synthetic fiber that I plan to weft, so I only marked the top center and a few directional lines. Also my hairstyle plan is not very complex. You should do what you feel will be best for you.

trim01

Here I did a rough trim, just taking off the excess fabric I had. In the next step I plan to cut along the lines I drew for the hairline.

trim02

Here I have the cap mostly trimmed to where I want it to be. I may need to take off a little more, but it’s always best to cut off too little rather than too much since too much and you have to start over again.

problem

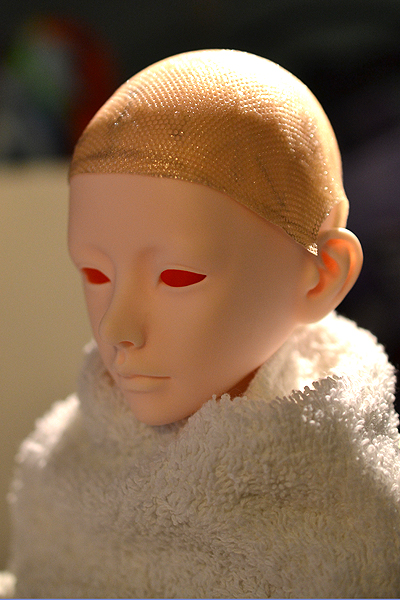
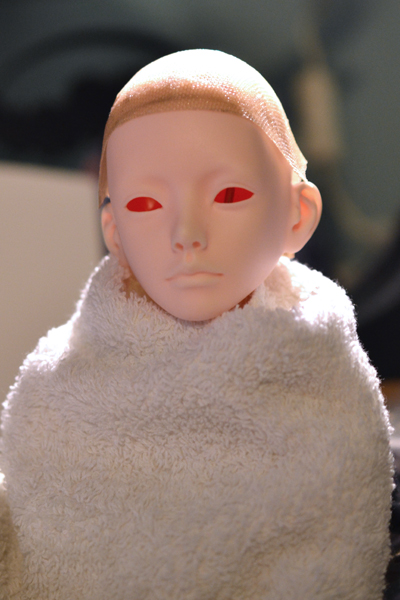
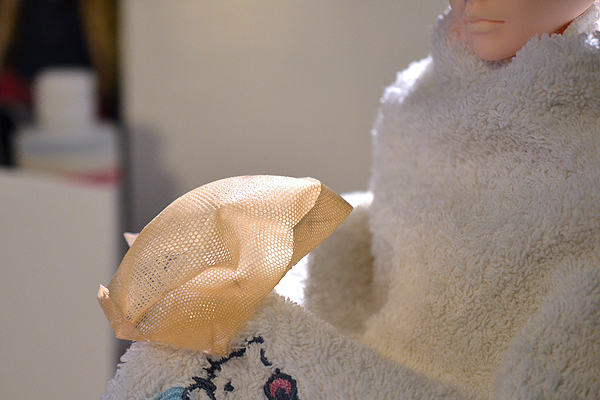
Here’s the front of the wig cap…one thing that I feel is a problem is that it sticks up a bit around the ears since the fabric naturally tented around the ears when stretched. I don’t know if there is a way to prevent this from happening, but I think I am going to try making another wig cap tonight and I will do some more experiments. Overall though I think it’s a pretty stable wig cap to apply hair to. Here are some of the pros to using this type of glue….

flexible

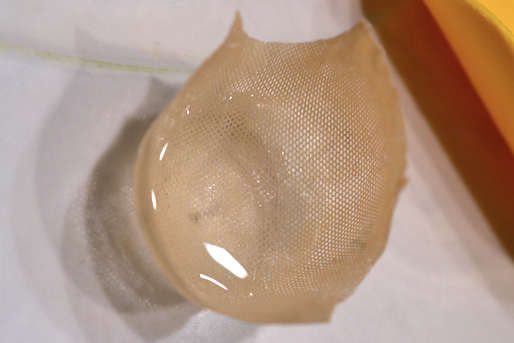
The first pro is that it’s flexible, you can flip the wig cap inside out if you want to. It doesn’t have much stretch though, especially with 2 layers of glue.

watertight

The second pro is that it’s watertight. It may be hard to see in the pic above, but I poured water from the tap inside the wig cap here. Because the glue is water resistant this means you can use synthetic fibers like saran and nylon and be able to use all of the wet styling methods for these fibers. Though I imagine this opens up wet styling methods to natural fibers like mohair as well. Also because this wig cap can get wet you can also maintain it like you would a normal wig, like giving it a wash or using conditioning treatments on it.

One last pro for using this glue is that because it’s rubbery, there is more friction when it’s on your doll’s head so it is less likely to slide off or around on you. Actually this fact makes me want to try a silicon glue next because maybe you can make wig caps straight out of that and have all the benefits of a silicon wig cap inside your actual wig.

The things that are not good about using this method is that it stinks. You’ll want to apply the glue in your bathroom with the bathroom fan running. Let me be clear and say it’s not particularly toxic like spraying with sealers as there are no particles than can find their way into your lungs, but if you have sensitive sinuses the odor could give you a headache. When the glue is dry however it doesn’t smell anymore, it’s only when it’s still wet does it smell.

The other con would be the dry time. It takes 2 hours to dry, though I applied my second coat of glue a bit sooner than that since it was dry to the touch before then. The last con would be the price. Each tube runs around $3, which compared to inexpensive PVA glues at $1 a bottle and more glue per bottle, well I think you can see the difference. This being said though $3 for a polyurethane based glue is not a bad price, and you do have all the benefits of a polyurethane glue.

Well, I will have more info for you as I continue my experiments. Right now the Loctite glue is working well for me, but I haven’t actually applied any hair or tried to make wefts yet, so I don’t want to pass judgement on this glue just yet. 😉 Anyway more to come!