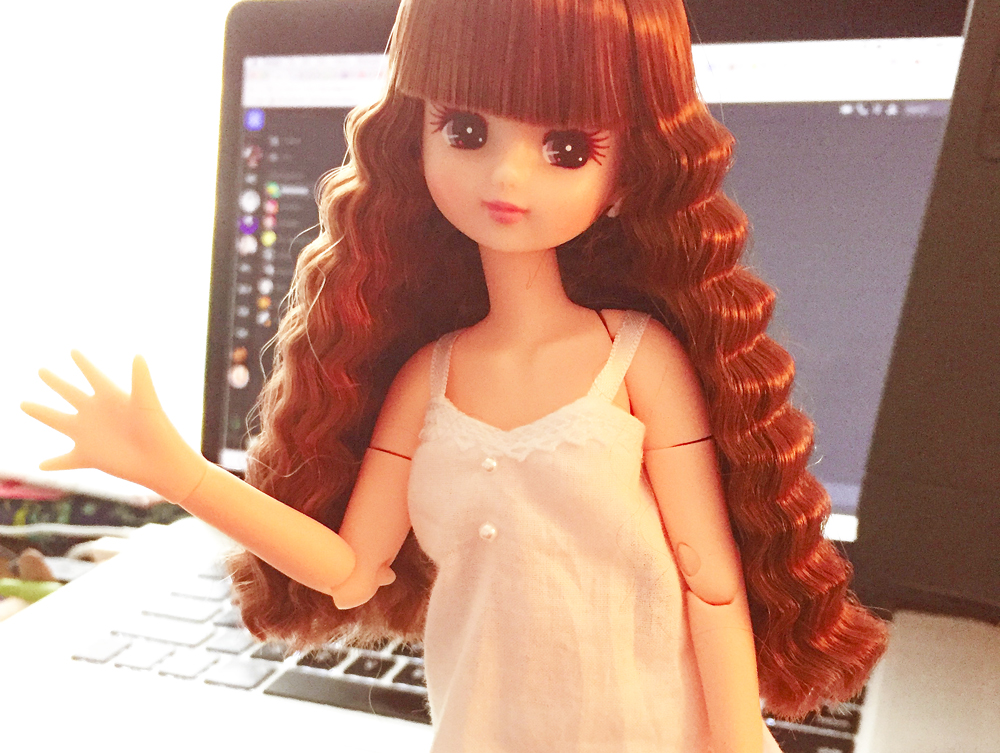
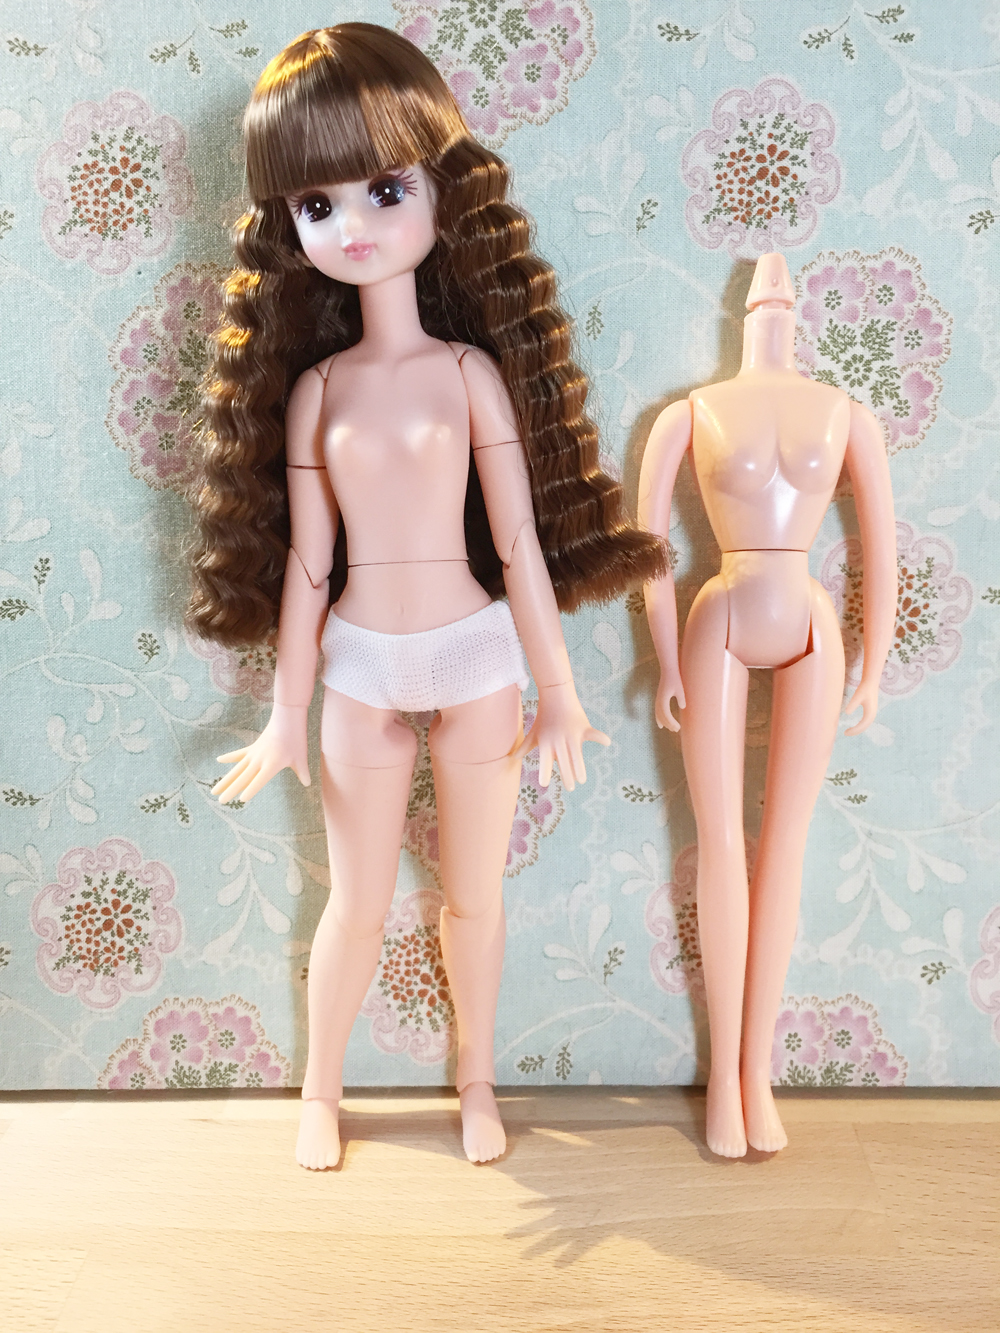
So, my latest dolly obsession is Licca and the Azone Pureneemo bodies. Thanks to an influx of Xmas money I was able to acquire both! XD Being mostly a BJD collector I have had no experience with pureneemo bodies and I thought I would share some posing information on them for anyone else who is in my shoes and is considering giving them a try. First of all I have to say I was really impressed with the body! I ordered a size small flexion body, in flesh color for my Licca. The Pureneemo small body is a tiny bit taller than the original Licca body and is so adorable I must say. I love the slightly chunky looking calves on the small version of the body and the whole sculpt just has a very cute aesthetic. The Pureneemo bodies also just feel very sturdy and substantial in the hand and the flesh tone matches my Licca perfectly and also appears to match my Jenny doll as well. So, let’s get down to posing!
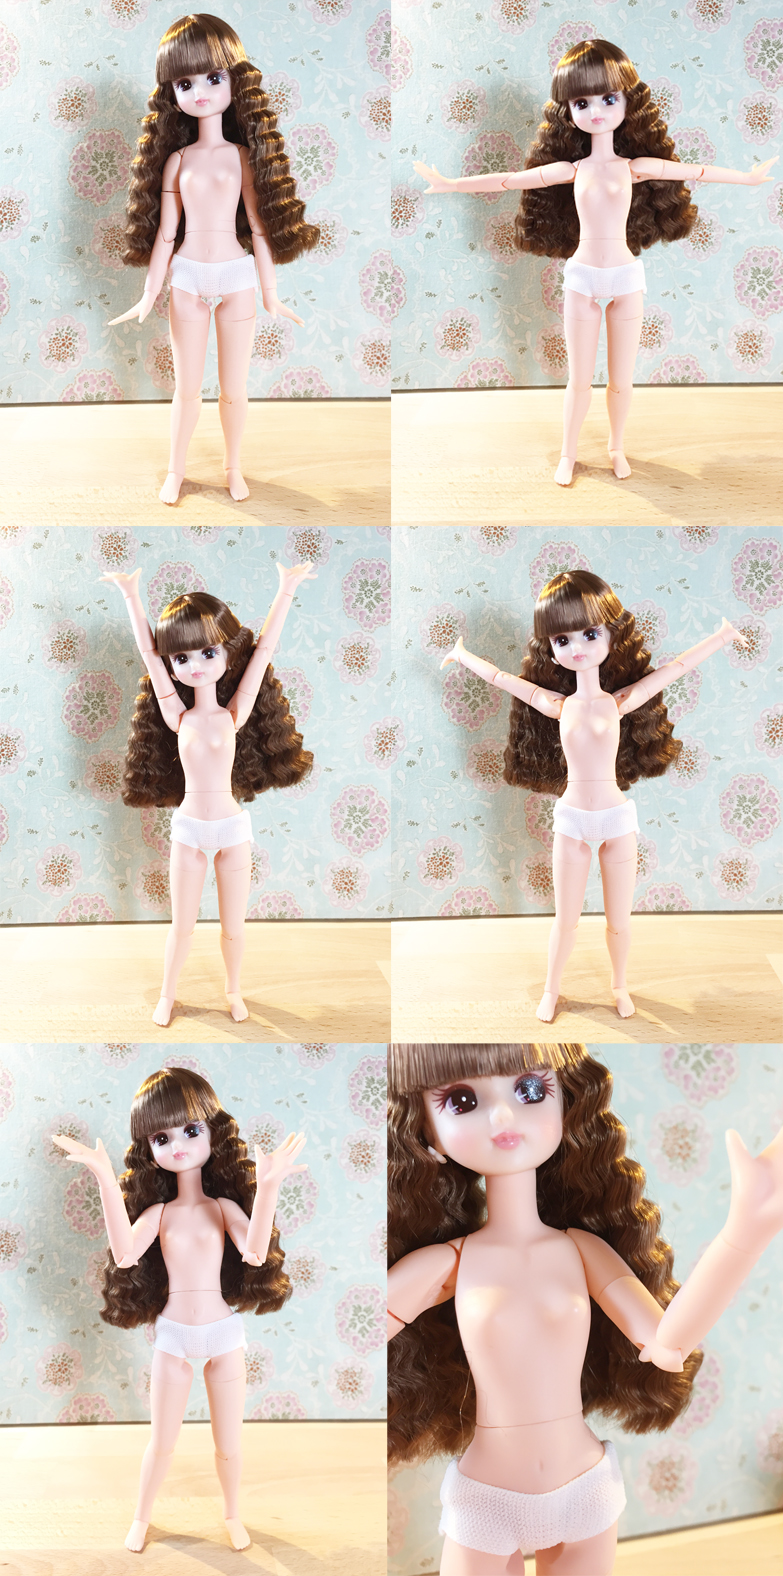
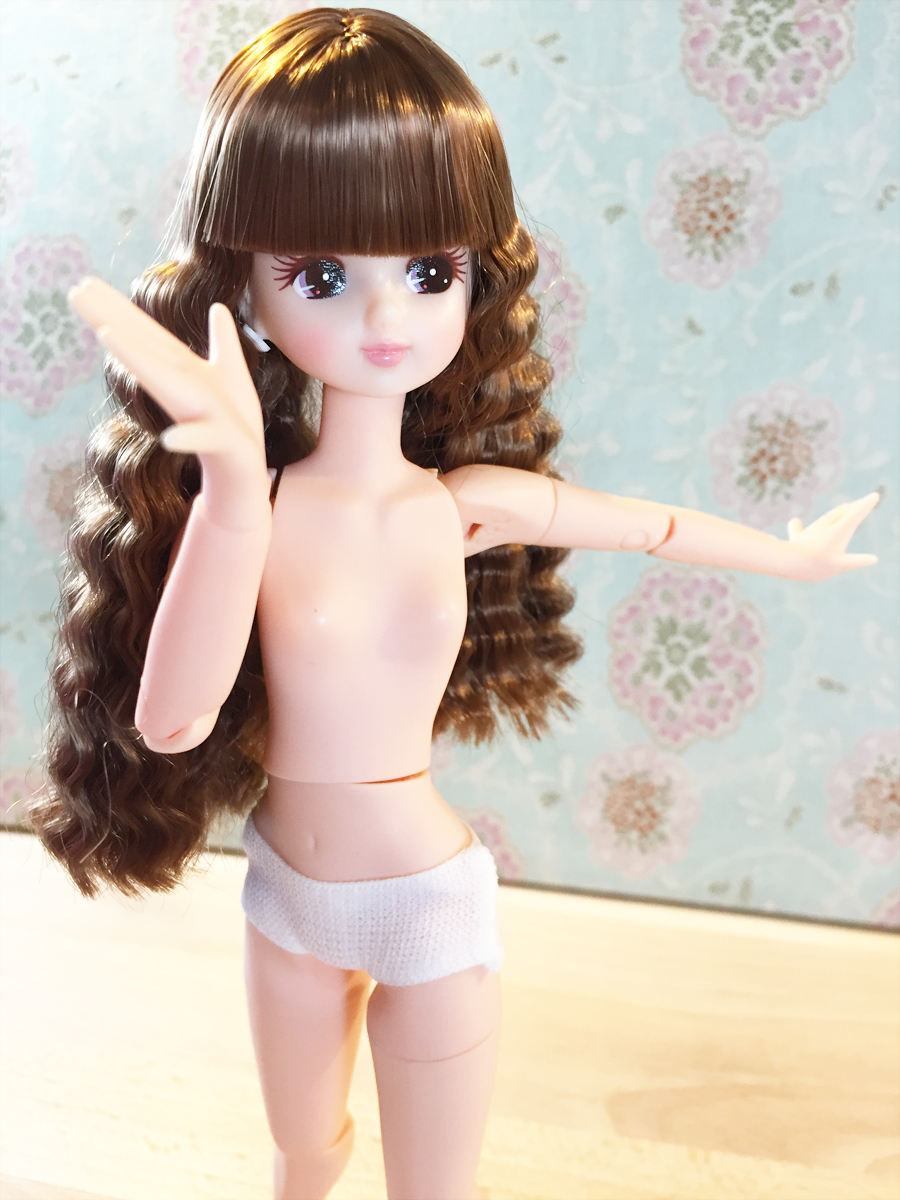
The pureneemo bodies have a really nice range of motion in the arms! I would consider their range of motion to be somewhat similar to BJDs but their jointing structure is different. The only areas that don’t compare are the elbows and the wrist movement with the default hands. To be fair the elbows probably function about as well as a single jointed BJD. The hands can only turn side to side, not forward or back so she is unable to touch her face or chest and things like BJDs can. This being said, there is a set of flexion hands that include a ball joint for the wrist and enhance movement. The hand sets for the pureneemos are all just so cute too and if you don’t like the aesthetic of a ball in the wrist there are other sets that keep the smooth line of the wrist and offer different poses. I am hoping to acquire a set soon to try them out!
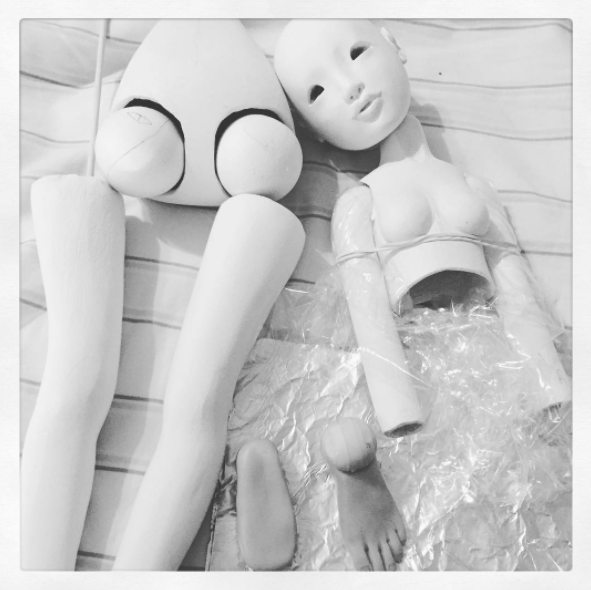
The pureneemo bodies do have one torso joint but it is a side to side swivel only, there is no forward or backward motion, so she can never slouch lol. This being said I do feel the torso has a nice aesthetic and not having the additional motion does not bother me. So next up is the jointing of the legs. Pureneemo have a hip socket, a swivel in the thigh, a knee joint and an ankle joint. All I would consider being similar to single joints on BJDS.
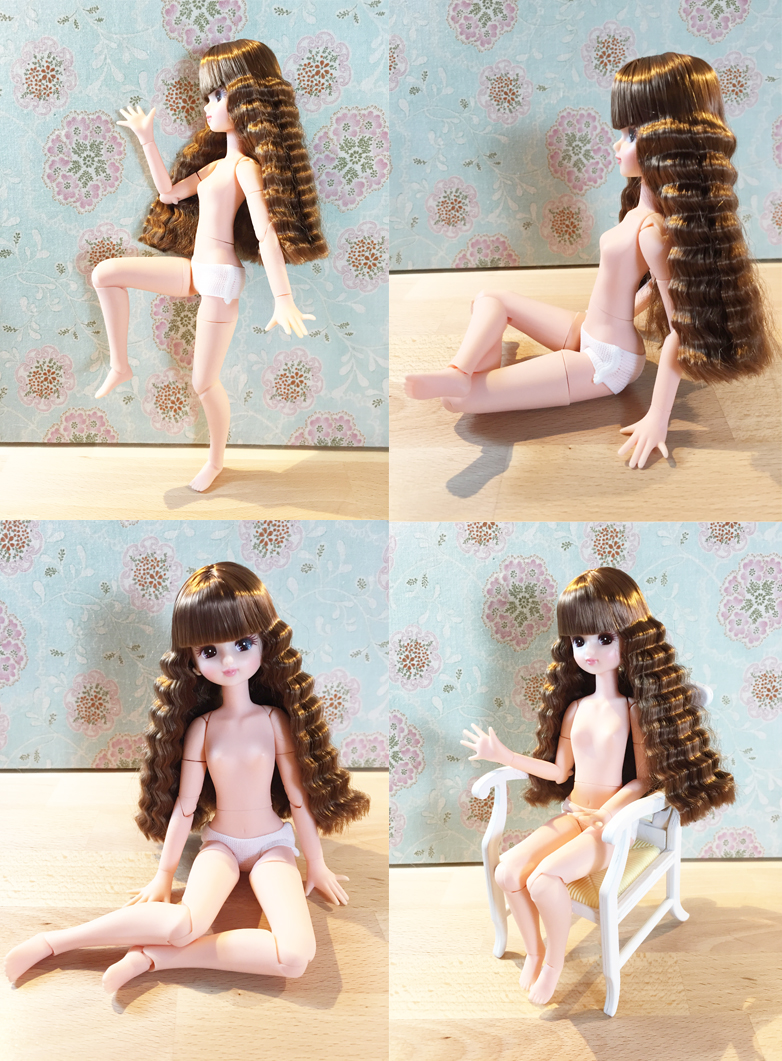
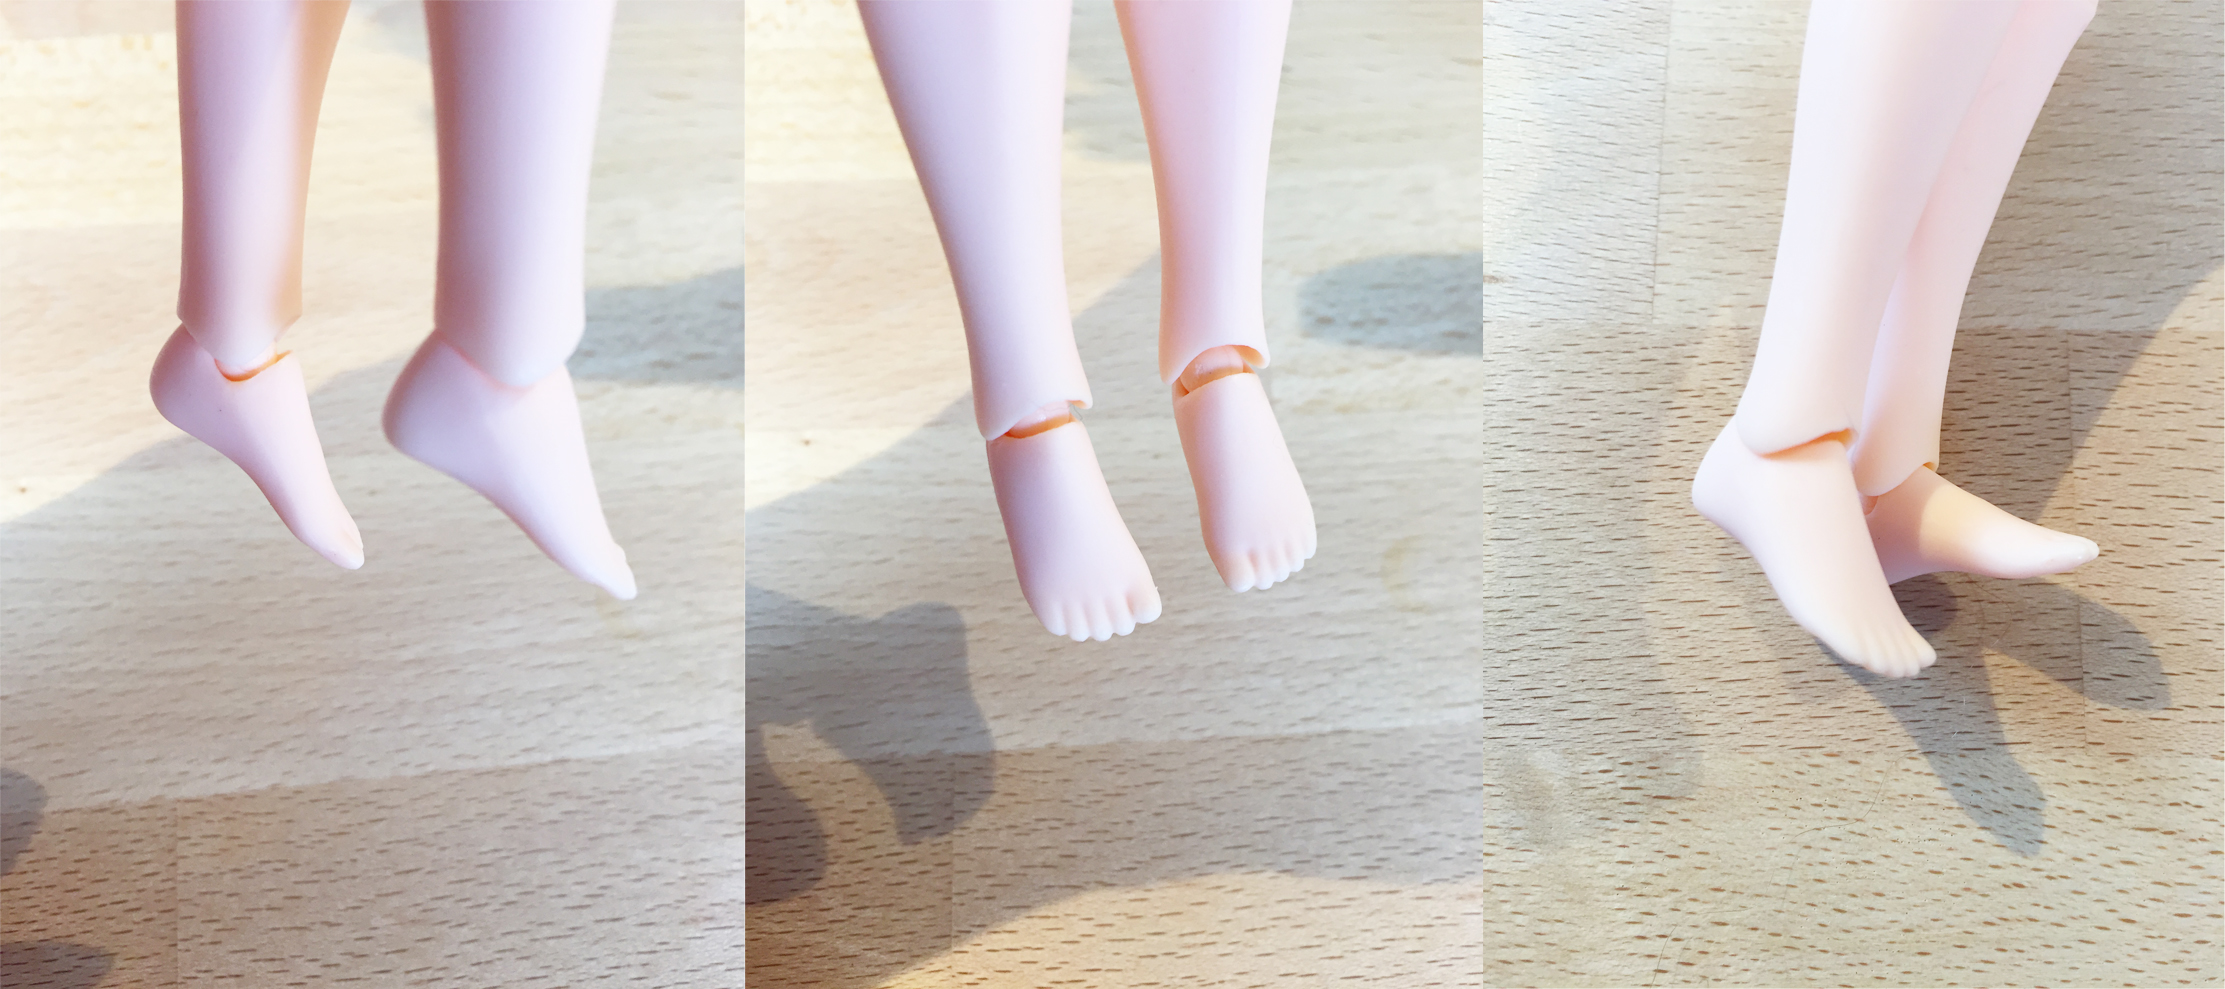
They can assume many different sitting positions and overall have a very cute posture! In terms of the feet, the joint is couched inside the ankle, hiding it. When the joint is couched inside the ankle it adds stability for standing. However for more movement you can gently flex the foot farther which slides the joint out a bit an increases the flex of the foot. It’s also easy to pop the joint right back in.
So, overall I’m super smitten with these bodies because the aesthetic and the posing capabilities hit that sweet spot for me. Also let’s face it, 1/6th scale is a great scale to play with miniatures too. That coupled with the accessible price on these figures is definitely going to put me in danger of collecting more of these dolls!! XD