

Ok, here is part 2 of my customs progress. This section is going to mostly be about the cutting and styling of the hair, and then the face painting will be in the last and final installment. Well then, let’s just jump right in shall we? 😉
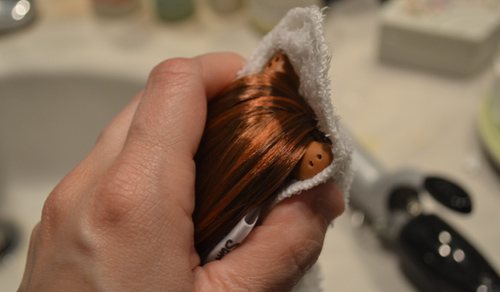
So, styling….One thing you will want to do is to tamp down your part thatch in place and aside from pouring boiling water over the head as I did with my first custom, you can also use a hot iron to set the hair in place. You will need a curling iron and a damp washcloth to put between the iron and your doll’s hair. Never use the iron directly on the hair as you could risk burning/melting it. In the above picture I have my damp washcloth in place and my curling iron is hot. I set my curling iron to around 24 or 25. When you press down the iron on the head you should hear a sizzle, if you don’t hear a sizzle, your washcloth is not damp enough and you should re-wet it. After pressing the iron on the section of hair you can lift up the cloth and see if it is to your liking. If it hasn’t been tamped down enough then just do the process over again. One more tip is to rub your iron back and forth as you do this so you are not applying direct heat to any one area for too long….basically treat it like you would when you iron your clothes.
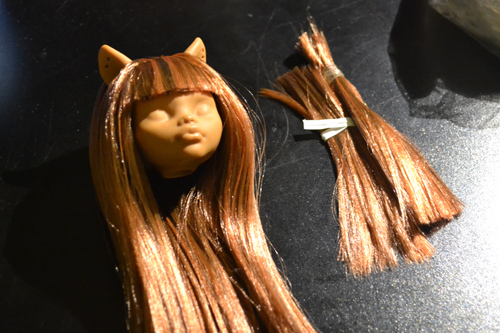
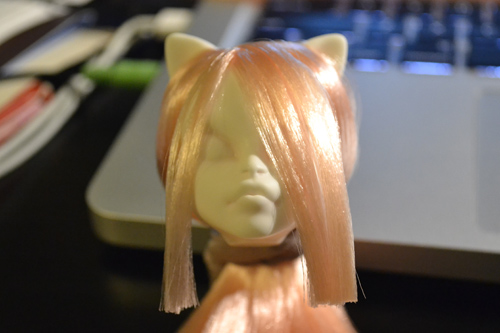
Here my CLawdeen has had her bangs ironed and cut. For a blunt cut like this you basically want to pull the hair strait down and cut in a straight line. You definitely want to use barber shears for this!! DO NOT USE REGULAR SCISSORS, especially if your bangs are thick! Barber shears will allow you to cut the fiber much easier and cleaner, plus they are smaller sized scissors and work better with the scale of the doll. You can get really low end barber shears at Target or any other box store in the hair accessories aisle that has all of the hair bands, barettes, brushes and so on. I got a cheap pair for under $10. If you are doing a lot of customs you may consider springing for a more expensive pair of barber shears from the beauty supply, there the low end shears are around $30, but they do cut even better than Goody’s $10 pair.
After I cut the bangs, sometimes I like to keep the leftover hair. This hair from the bangs is good fodder to practice using your barber shears on, but it probably too short to be useful for anything else. But, it’s nice to have practice material right? 😉
Ok, we are going to backtrack to Catrine’s re-root process a little bit here. I decided with Catrine that after doing so many rows of hair plugs that I was going to tamp it down with the iron periodically. Doing this kind of crimps the hair so it follows the shape of the head right after it comes out of the hole. The reason for doing this you might ask? Well it makes the hair appear to lay more naturally along the doll’s head and you don’t have to worry about having thick hair puff out syndrome. Personally I like this, so I intend to keep on doing it for the rest of my customs.
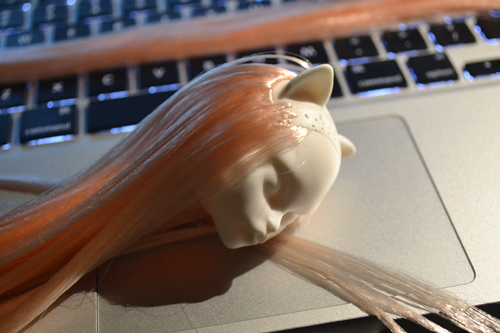
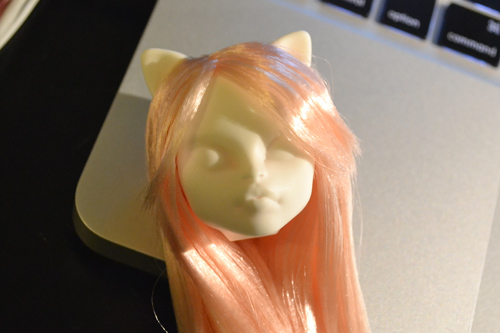
So, I’m styling Catrine’s hair a little different. I want a side part with longer bangs. I’ve already begun coaxing the hair into that position.
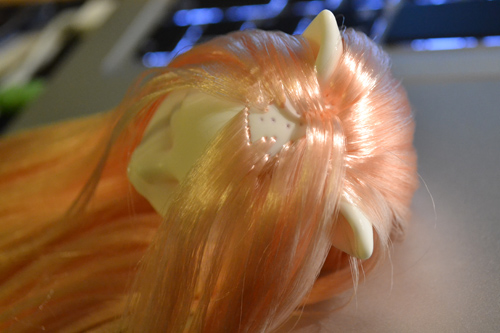
Now for the part thatching. Here is a close-up view that shows the thatching the best. Essentially you are going to have two rows of hair side by side for your part thatch, and these two rows should be close together you will take the hair from the right side of the hatch and move it left, then pull one from the left side, move it right, and repeat this process until you start to get a weave like the image above. If you want a more in depth tutorial on part thatching, there are already some great tutorials online who explain it brilliantly and you can check those out here:
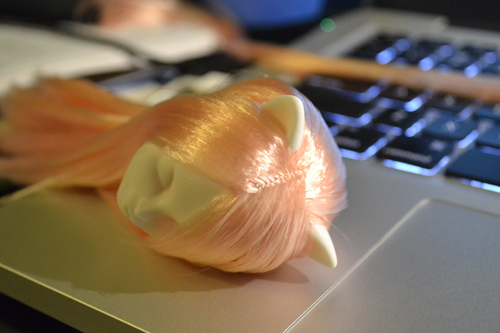
And here is the completed side part, thatched and tamped with the steam iron technique.
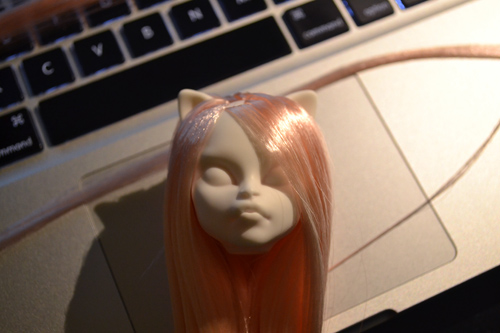
So, I want my Catrine to have longer bangs that have wispy ends. Here I have cut the bangs BELOW where I want them to be. I did this because I am going to use a technique to get the wispy edges that will wind up taking off more hair.
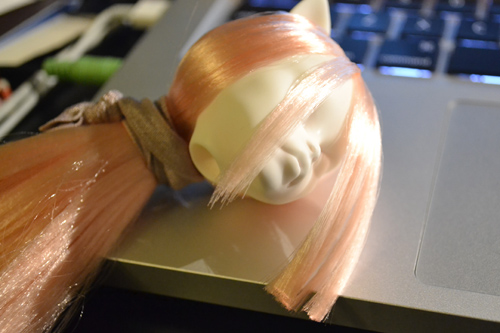
So phase one of the cutting, you can see my progress above. To get the wispy edge look what you have to do is hold your barber shears parallel to the hair (straight up and down) and just start making little snips to the ends. If you’ve never done this before take your practice hair, either the hair you clipped from the doll or a bangs cut like me and practice it. Just practice it until you feel like you have it. If your hair is still a bit too long after you have done this, just keep snipping the hair parallel until you have it about where you want it.
Here is my finished look. Now to get the hair to curl a bit outward, I just held it in place like that and steam ironed it just like you do when you tamp down your part thatch..
Well, this is the end of the cutting and styling segment. The last posting will be about doing the face-paint. I’m hoping to get it online sometime today, so watch for it!


