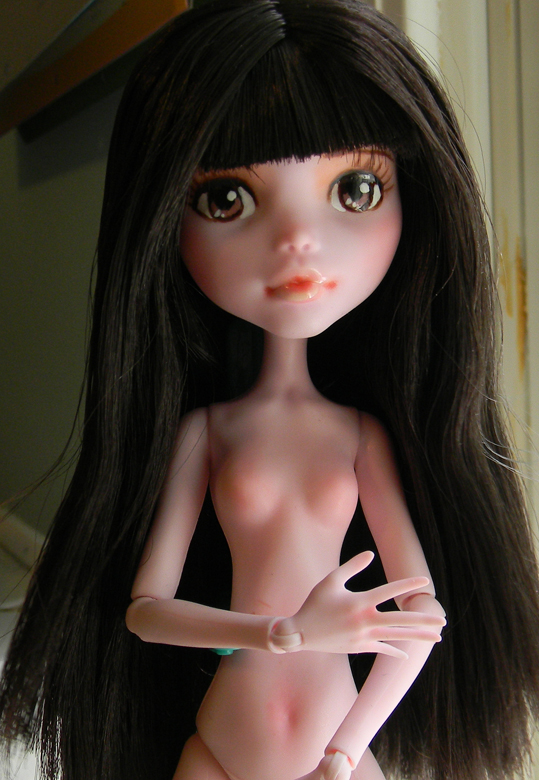
Custom Draculaura Complete!

So here she is, my first custom Draculaura doll, clearly though she is no longer a Draculaura! Anyhow through the painting process I realized that A) I bought a acrylic medium that was glossy and B) I need smaller brushes!! I thought the detail brushes I used for dollhouse stuff was going to be small enough, but clearly I need something even smaller.

Overall I’m really happy with how she turned out. She has a few flaws, a wayward brush stroke on her belly which looks like a scar, and her bangs are messed up a little since I accidentally pulled some out after removing the hair protection for when I sprayed her with sealer. I think her eye paint could be cleaner, but I think that’s a matter of needing smaller brushes and practice. I am going to go back to the art supply though and try to return the gloss medium. I don’t know if art supplies take returns or not, but for the price it is, I should at least try.

“De-greasing” Saran Doll Hair

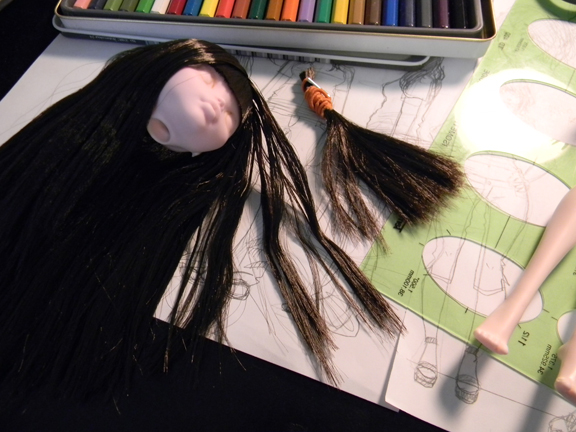
For those of you who may not have been aware like I was, saran doll hair usually has this slight filmy feeling to it, or as others have said it is “greasy” or “oily”. It truly is oily and has the unfortunate side effect of making your doll look like she has nappy no-shower in a week hair if you don’t wash it properly. You can see in the picture above that the doll hair on the left has this oily problem, whereas my freshly washed sample piece on the right does not. I spent quite some time google searching methods to degrease hair with no luck, so finally I just started experimenting with things until thank heavens I found something that works!

So here’s what you need to do to get that greasy, oily feeling out of your saran hair…..wash it with a dish soap that has a degreaser in it. It’s as simple as that. Most dish soaps on the market have some sort of degreaser in it, for me, we had Palmolive in the house so I just used that, but I’m sure any other quality dish soap on the market will work. After I gently washed the fibers in the dish soap I made certain to rinse the hair thoroughly, because obviously you don’t want to leave soap film in the hair. Here’s my tip though, don’t blow dry the hair afterwards. I found that with my test sample of washed hair that blow drying the hair caused it to get a static build-up with flyaway hairs. Letting the hair naturally air dry solves this problem, however it will take all day. 🙁 I even set my dolls head out in our 103 degree summer heat outside and it took her hair all the way until the evening to be mostly dry!

Well, that’s it for now, hopefully if you were struggling with this problem I was able to help you out! Look for more progress on my custom Draculaura soon now that I’ve “de-greased” her hair, lol.

Monster High Re-root Progress

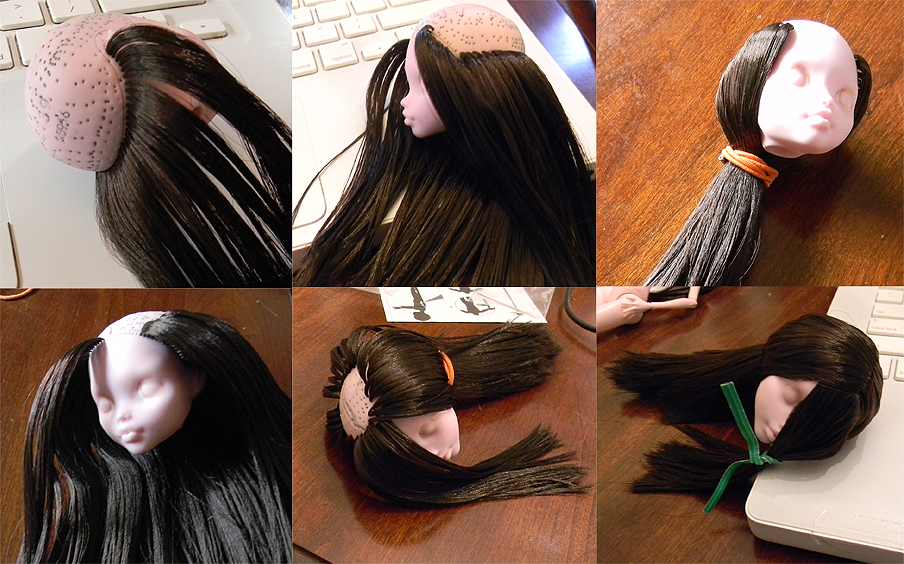
So the above pic is a series of progression shots through my reroot. I’m not going to go into an in-depth reroot tutorial because I already posted a list to reroot tutorials in a previous post here. Basically I started in the back using the reroot tool and filled up each hole. I saved the bangs until the end so it would be easier to keep them separate from the rest of the hair. Also, naturally you save the part thatching for the very last. Part thatching is probably the hardest part of a reroot, but there is also a great tutorial for that in the post I previously mentioned. 🙂 So, after you get all the hair in, you need to smooth it down how you like and set it with boiling water. You can also use steam to set the hair as you work on your part thatch, which helps to discover any weak areas that may need more hair.

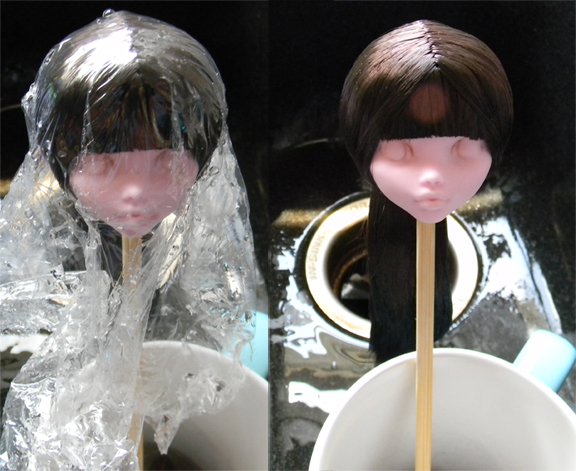
So, if your hair is already washed and the hair is exactly as you want it, you can wrap the head gently in saran wrap and pour boiling water over the head. You can see the before and after in the shots above. Keep in mind this technique is for SARAN FIBER!! Saran fiber has different temperature requirements from nylon or kanekalon. Saran can easily handle boiling water and in fact you pretty much need the heat of the boiling water to style it.

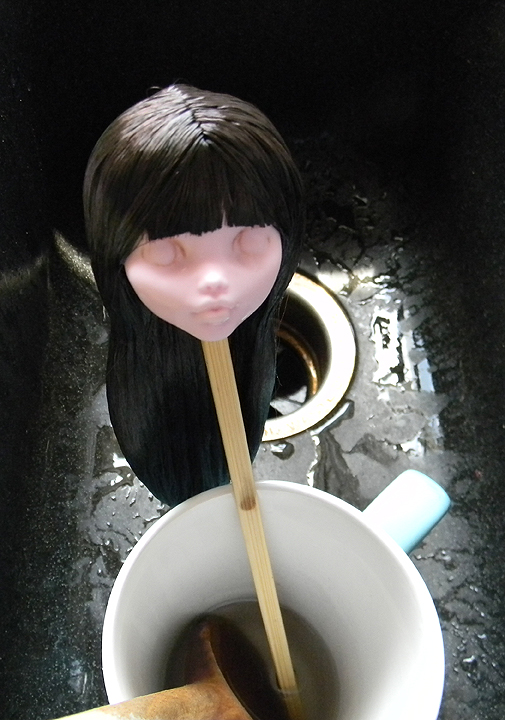
Anyway because I didn’t wash my saran fiber before rerooting the doll I decided I should go ahead and pour the boiling water directly on the fiber so it not only removes the film that is often on saran, but also sets the hair as well. One thing to keep in mind when pouring boiling water on unsecured hair though is you must be gentle and slow otherwise you could get some hairs out of place and that would be no good. In the future I plan to wash my saran so I can use the previous saran wrap method. Another thing you want to keep in mind is you shouldn’t expose the plastics to boiling water for too long. 20 seconds or so should suffice without worry of melting any fibers or causing frizzing.

I also found this nice little tutorial site for styling doll hair which helped me suss out some of these methods for setting the hair. I will leave you with that link here: http://www.dolls-n-daggers.com/Dolls/OOAKtipshair.php These tutorials also cover cutting dolly hair as well as how to style hair to be curly. Lots of great info!