
I’ve been meaning to blog about the room box flooring for a while now, but it’s been so busy around here and then my Taren arrived, heh. Anyway I’ve made quite a lot of progress on the floor so now I feel I can make a substantial process blog about it. So without further ado, here is how I went about making my room box floor.
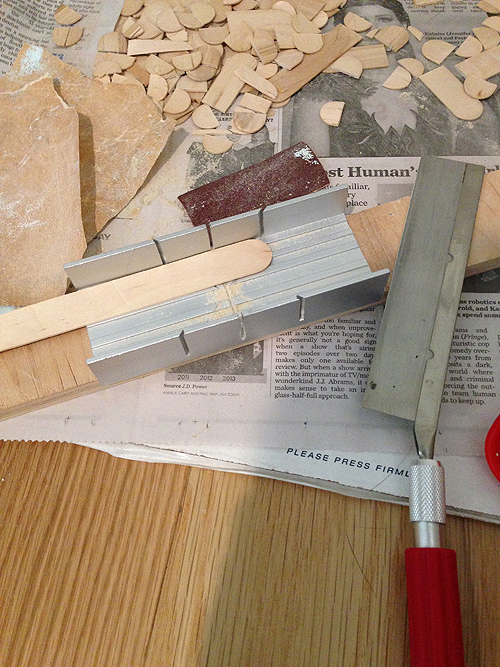
So, materials wise I thought I would try using craft sticks, the jumbo variety that look like tongue depressors. With my craft saw and miter box I sawed off the rounded ends and then started gluing them to my plywood base.
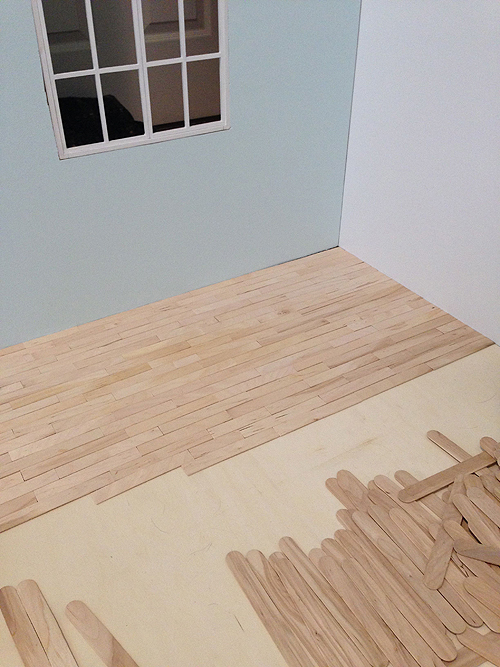
Here is a progress pic of the gluing process. I also want to mention that you need to be sure to have some heavy objects to weigh down the planks of wood after you glue them because glue is wet and causes the wood to warp slightly before it dries. Weighing down your floor will keep things more uniform and save you from having wood planks punking up from the base in an unsightly manner. I suppose I should also mention that I did not cut all my wood and do a test layout of the whole floor. I worked two rows at a time and just made sure that none of the end seams lined up. I wanted the floor to look as close to a real hardwood floor as possible so I strafed all of the board ends and tried to make it as random as possible since real floors are random, well at least ours is.
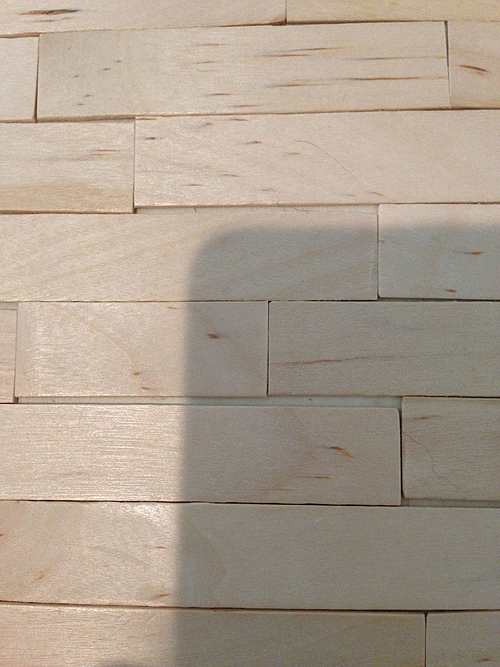
So, you are definitely going to encounter problems when working with craft sticks, and the above picture is one of them. Because craft sticks are not uniform in size and some warp slightly you are going to get gaps between boards, especially when you are working at 1:3 scale. To solve this you will need to fill in the larger gaps with a wood filler.
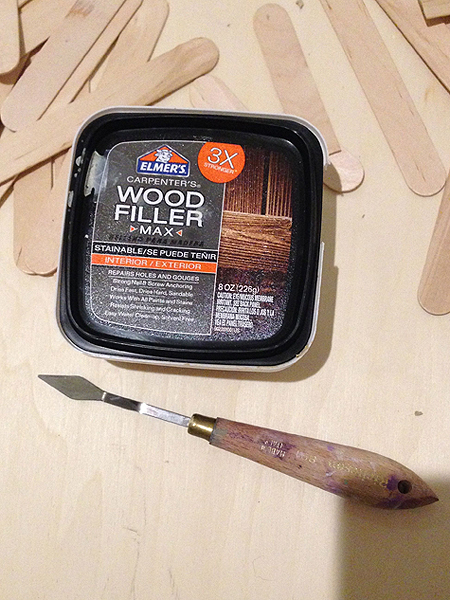
I used the wood filler in the picture above to fill in my gaps. To be honest I was not all that impressed with this wood filler, and I probably would have selected something different, BUT this came to me free from my father’s workshop so I can’t complain too much. The thing about this wood filler is that it has tiny chips of wood in it and I would have preferred something with a much finer grain about it. Lastly I wanted to mention that I used one of my palette knives to apply the wood filler. It really makes filling in the gaps so much easier than using a regular old spackling knife since it’s more to scale.

And here’s where I have filled in some of the gaps with the wood filler.

The next step is to sand the whole floor. Sanding the floor will help you get rid of the slight bumpy irregular feeling your floor will have that just comes with using popsicle/craft sticks, not to mention that it will prime your floor to take a stain and/or varnish as well as smooth out your wood filler. I really think this is a necessary step if you are making a floor using craft sticks. I don’t care if you say you want it to be “rustic”, it’s not a “rustic” issue, it’s a craftsmanship issue, because even a good rustic floor has good craftsmanship. Haha…sorry for the lecture. XD
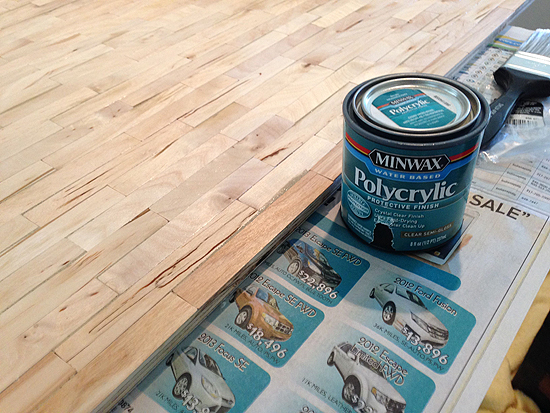
I opted not to stain my floor and decided to go straight to varnish because I just really like the light natural look of wood, plus I think it will be a nice compliment to the shabby beach theme I’m going for with the room box. I had been at a bit of a loss as to how to finish my floor though, because for one thing it’s winter where I live and using a polyurethane varnish inside the house, well I think you can imagine the smell and the headache afterwards. XP My other reservation to using a polyurethane varnish was that I have in the past had issues with some of the plastic or rubber soled doll shoes sticking to the flooring if left sitting on the flooring for any period of time. If not polyurethane varnish, your other options are to use linseed oil or a polyacrylic varnish, which is basically an acrylic varnish that washes up with water and is less smelly. As you can see from the pic above I opted to go with the polyacrylic varnish and I am currently waiting for my first coat to dry so I can gently sand it and then apply another coat.
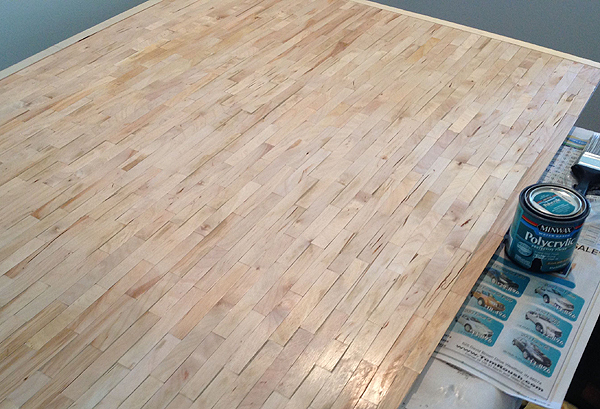
This is my floor after one coat of the semi-gloss polyacrylic varnish. I ended up doing a really thin coat so it will probably take me 3-4 coats if I keep on like this with the ultra thin coats, but I think in the end it’s better to apply thin coats and build up to a nice semi-gloss. I chose semi-gloss because I didn’t want my floor to look too shiny since the floor looks a bit rustic and I would rather it look a bit more like a worn beach house floor than something high gloss and brand new.
So, now all that I have left is to sand, varnish, sand, varnish until I get the finish I want. I’ll be sure to post up a pic of the finished floor after this. I am getting excited because I am getting closer to having this room box finished! I am getting antsy to start working on some 1:3 scale furniture and props so I want to get it done within the next couple weeks!
Thanks for sharing your process. Those floorboards look great ^^