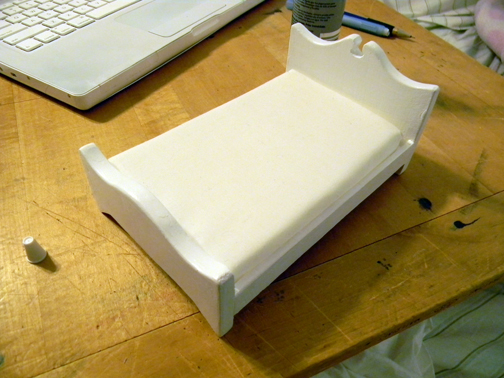
I call this a “sorta” mattress tutorial because I have left out some steps picture wise and also this may not necessarily be the best way to make a bed mattress, but it’s how I worked through some construction issues after making my 1:6 scale doll bed and mattress. I thought I would share my experiments just in case they might be helpful to others, as knowledge can always be built upon to create even greater things! If you happen to have some better ideas on mattress construction feel free to comment and share them! Anyway now on with the sorta tutorial!
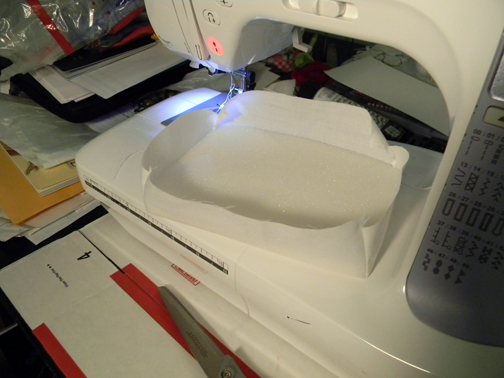
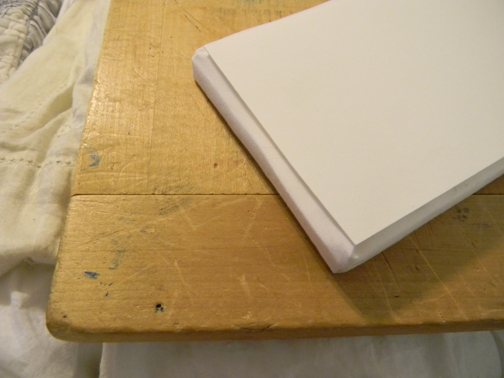
The first thing you need to do is cut some craft foam (the squishy kind for seat cushions and that) to the proper size that fits the bed you are making this for. I have already done so and in the picture above I’ve started creating the “fabric box” that will be the top of the mattress. To make your own fabric box, just cut a piece of fabric that you know will be large enough to wrap around the edges of your foam piece, then cut out squares at each corner and sew your corner pieces together. Sorry I don’t have a pic for this ^^; , but those of you with experience in sewing already should know what to do. You want the fabric case to fit taught around the foam, if it’s not, just make your seam allowance bigger until you get there.
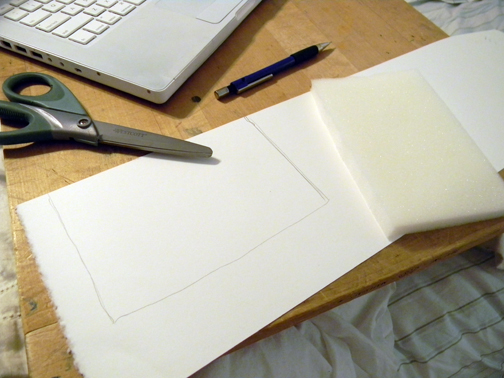
After making the fabric casing, I then removed my foam and cut a piece of cardstock to size using the foam as a guide. Now at this point, you might be wondering why in the heck I’m not just making a case that is all fabric and why I’m bothering with cardboard, and I will tell you why. 😉 The reason I’m not making a full fabric case is because when I made my 1:6 scale mattress for my Pullip, I wasn’t able to satisfactorily get a taught fabric casing that still kept the nice boxy form of the foam. If you made the fabric too taught, then the foam would just squish in on itself, and if the fabric wasn’t taught enough it would ripple and sag. After re-upholstering the shabby chic chair I realized the benefits of using cardstock for backing and thought I would give it a try for this bed.
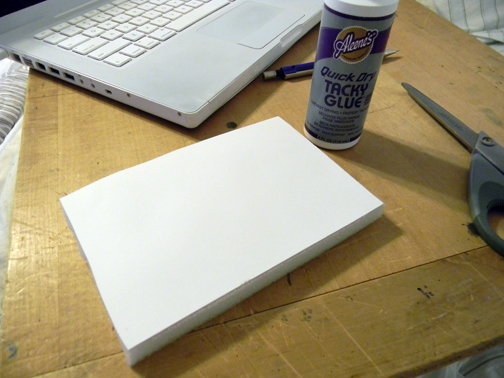
After you have cut your cardstock to size, go ahead and glue the cardstock to whichever side is the bottom of your mattress. It will be a good idea to leave this dry for a bit before continuing, but if you are impatient, blow drying on a low setting can help speed up the glue drying process.
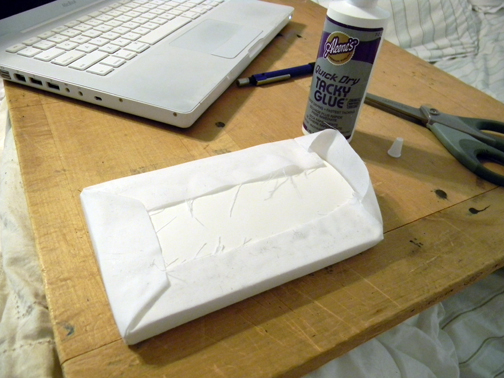
OK, so after the glue has dried it’s time to put your foam piece with it’s cardboard backing, back into the fabric case, BUT, this is important, you want the cardboard side to be facing up. As you can see in the picture, what you will do next is pull the fabric edges taught and glue them down onto the cardstock face. You should take it slow though and do one side at a time, waiting for the opposite side to dry before you glue the other edge. Sometimes if you don’t wait for the glue to dry, when you start to pull the fabric taught across the opposite edge, the other edge will slip. It’s really important to pull the fabric taught, otherwise you will have ripples in your mattress.
Of course as you can also tell from the picture, that the end result on the bottom of the mattress is really ugly. If you are in a hurry and you don’t care, once you have all of your edges glued down, you can just call it a day because nobody is really going to see the bottom of your mattress anyway, however if you are picky like me, then continue on with the next step.
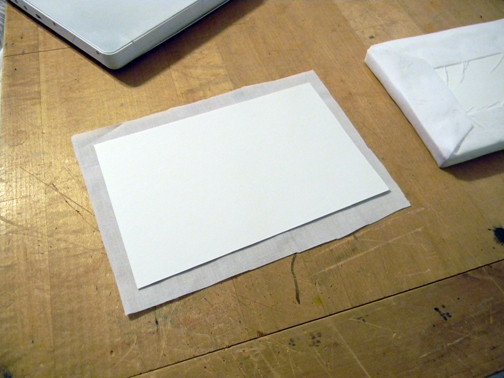
So, if you want to make it attractive on the bottom as well, you are going to need to cut another piece of cardstock, this time it needs to be a little smaller than the rest of the mattress, like in the pic above. It’s best to cut down your cardboard with a utility knife and a straight edge for this, as you’ll want a nice straight edge for maximum cleanliness. 😉
After you have your cardboard cut down you will want to cut a piece of fabric and trim it so you leave an edge all the way around. Glue the cardboard down onto the center of the fabric and then start folding over the fabric edges and gluing them onto the cardstock just like you did for the mattress. On a side note, be careful when working with white fabric because any lint, pet hairs, dust and other gunk likes to get between the fabric and cardstock when you’re gluing and it make it look dirty. XP
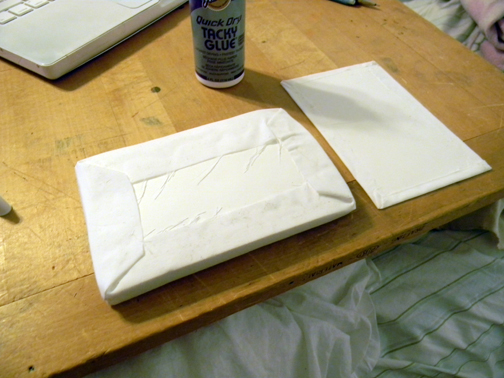
So what you should now end up with is your foam portion and your fabric covered cardstock as in the picture. Now what you want to do is to glue these two together, BUT, be sure to glue the ugly sides together! XD
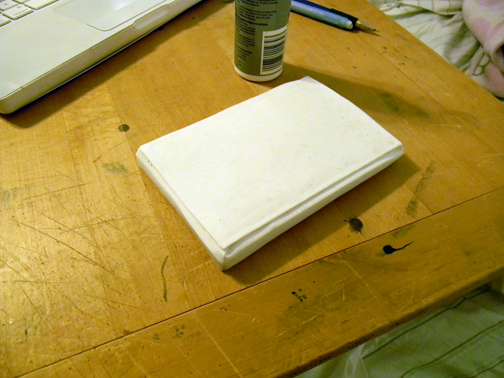
If you’ve done everything correctly, this is what the underside of your mattress should look like. Now while the glue is drying, you can gently…and I do mean gently…press the two parts together by laying a medium weight item on top of it. I would suggest maybe a single manga book, or perhaps two. You don’t want to compress your foam though!
And here’s my finished product slipped into the bed frame. It’s nice and taught and boxy! It should make a nice place for my little Brownie to sleep, once I get some sheets, pillows and blankets done. 😉

