Second Wig Cap + Tips

So I decided I wanted to try to correct the flaws in the first wig cap and went on to make a second. I was successful in fixing some of the problems in the first wig cap and now I figure I will use that first wig cap for testing purposes. Anyway on with my findings…

eartamp

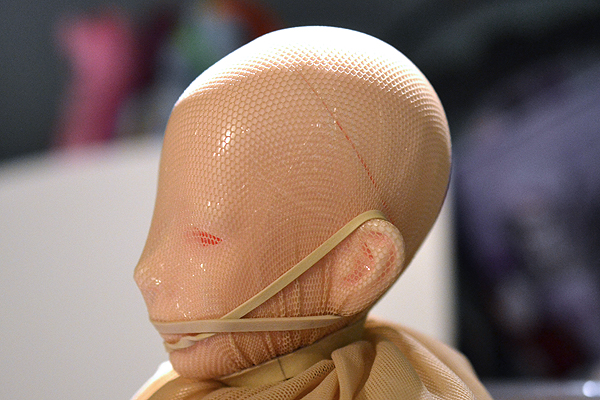
So the first thing I did to prevent the tenting around the ears is I used a rubber band and attached it across the front of the face from ear to ear. Above is the side view, and I’ll show the front side view below for better understanding. 🙂

eartamp02

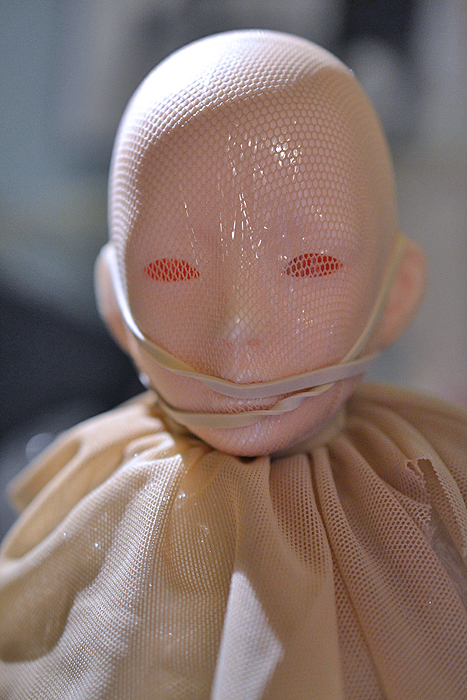
So, doing it this way across the front of the face basically it helps keep the rubber band out of the gluing area on the nape of the neck. It also successfully tamps down those ear tents that happen for a much more form fitting wig cap.

wrinkles

The second problem I encountered while making the first wig cap is that the fabric likes to wrinkle at the base of the neck and this makes for a less than smooth wig cap.

wrinklemigration

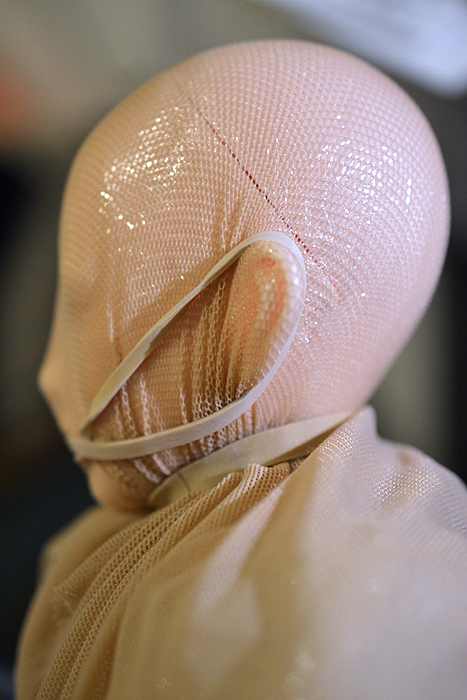
You can solve this by pulling all of the fabric over the ear so the wrinkles wind up in the front of the face where they will be cut off anyway. In the pic above I still have a couple wrinkles I need to move forward from the ear area, but with a little time it’s pretty easy to shove all the fabric around so the wrinkles are in the front.

wrinklesgone

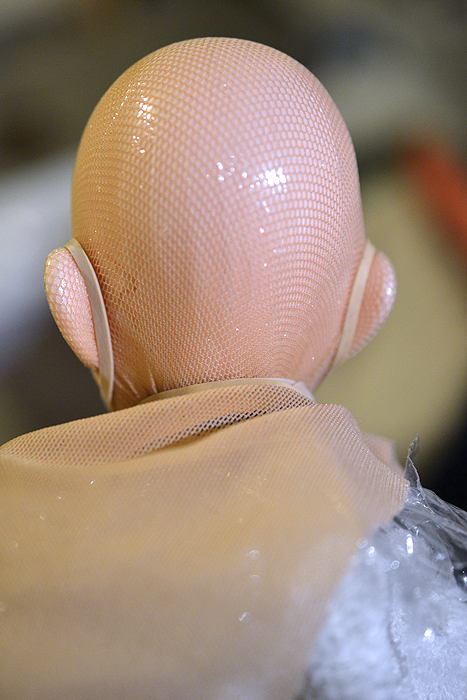
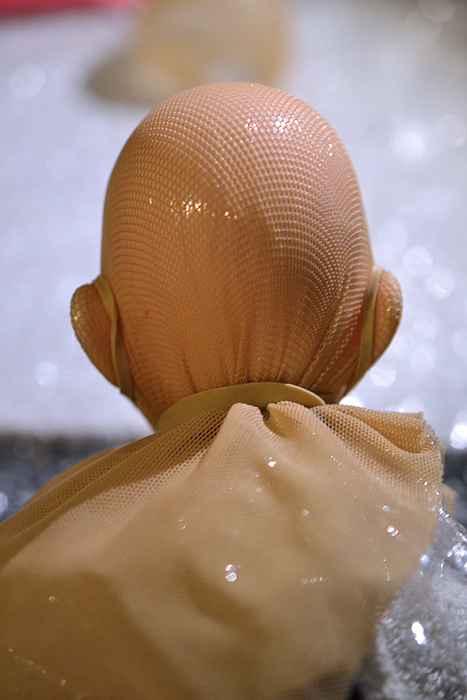
And here’s the back of the head now with most of the wrinkles gone. Any wrinkles left over are below where I plan to glue.

secondcap01

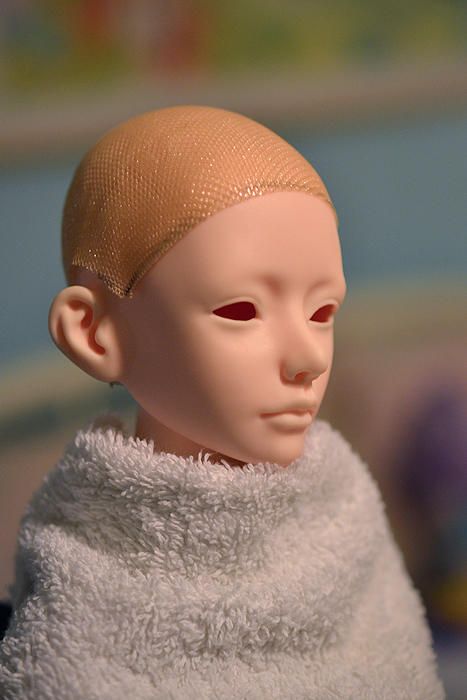
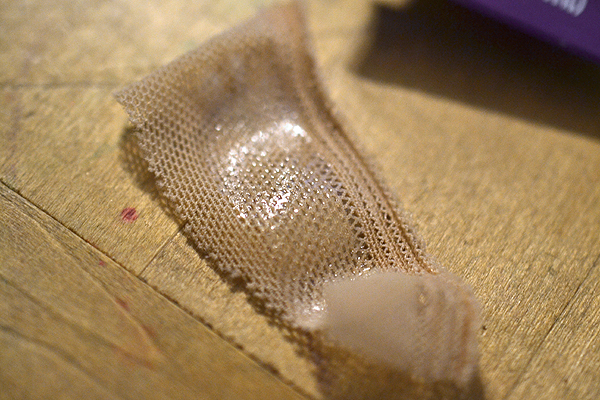
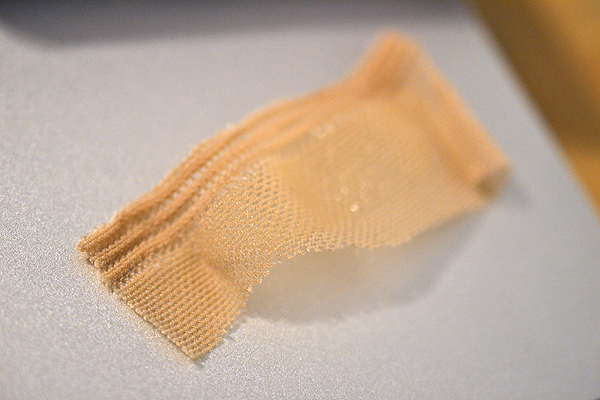
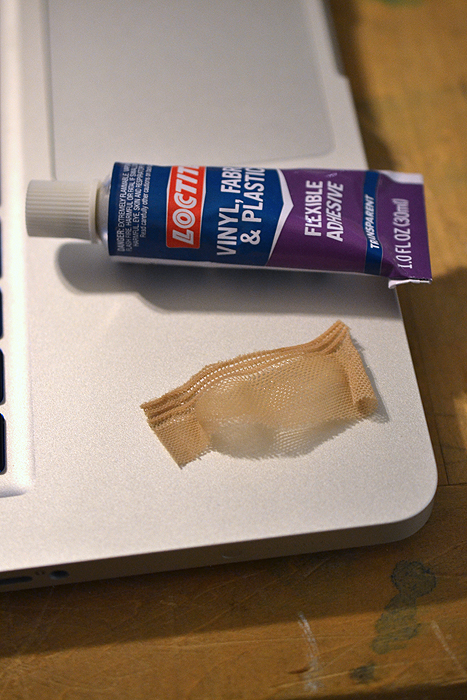
And here is the finished wig cap after I went through the gluing and trimming process. As you can see the cap around in the ear area is no longer sticking up.

secondcap02

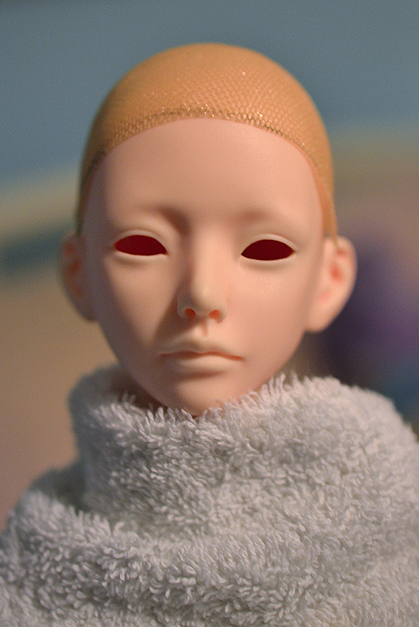
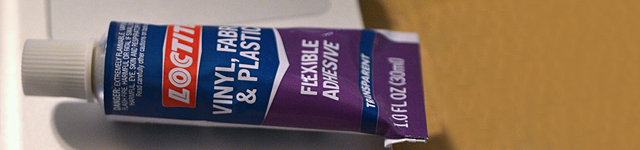
The left hand side still has a skooch-a-bit of a fly-up, but I figure that with the gluing of the wefts later that it will tamp down nicely. So, I think that about covers it for my experience making a wig cap using Loctite’s flexible vinyl adhesive. I now plan to start on wefting experiments using some cheapo costume hair. When I have enough info to share I will surely make another blog post!

Glue Testing for BJD Wig Making

After being inspired by the “Crafting your own custom angora wig” tutorial thread on DoA, which is here if you are a member, I started to think I might like to try to craft my own wig too. I read through the thread about what glues to use and etc.. and then I thought to myself, why not try to use Loctite’s Vinyl, Fabric and Plastic flexible adhesive. It is waterproof, completely transparent, and FLEXIBLE! On top of this the base of this glue is type of polyurethane which in theory should make it safe for use on our polyurethane dolls. I have also used this glue in the past to plug up holes in the heads of Monster High girls, so I already know it’s safe on vinyl and doesn’t have any bad reactions to saran hair.

So, the first thing I did before going whole hog on making a test wig, was to test the glue with the material. I used power mesh fabric which is the fabric I bought for making wefted wigs a while back. I wrapped a highlighter with saran wrap and using rubber bands I stretched the test fabric onto the saran covered highlighter. Then I applied some glue to the test strip and spread it around with my smallest palette knife. I left it for 2 hours to dry and here are my results below.

glue-teststrip01

I was really happy to find that the glue peels right off of the saran. That was my first concern, that possibly the glue could bond to the plastic thus not being a viable option for wig making since nobody wants a layer of saran wrap inside their wig. XP Thankfully it does not and it also peels off with ease. The above picture shows the side of the fabric that was pressed against the saran. It’s a little shiny, and because it’s a rubbery material it provides some friction which is an added bonus because that means it won’t slide off the dolls head as easily.

glue-teststrip02

This is the top side of the fabric that was not in direct contact with the saran, note how you can’t see any shininess from the glue. 😉 This glue dries perfectly clear and it will stretch a little bit. There is a decent amount of stretch along the grain of the fabric, but much less stretch against the grain. Stretching too hard against the grain (to the maximum you can stretch the fabric before ripping the fabric) will cause some warping of your fabric and you run the risk of tearing the glue. My suggestion would be to use two coats of glue for added stability before you even begin applying any hair.

glue-tubetest

And here’s a final shot of the tube of glue that I used next to my little test strip. So far one of the potential drawbacks to using this glue is the wait time. You have to wait around 2 hours for it to dry. Another drawback is that with excessive stretching the wig cap can become misshapen. I am going to continue on with my tests since snow storms are keeping me inside and I will continue to report my findings as I go. My next step is to create a full wig cap for my Zaoll luv and then I should have more information for you.

“De-greasing” Saran Doll Hair

For those of you who may not have been aware like I was, saran doll hair usually has this slight filmy feeling to it, or as others have said it is “greasy” or “oily”. It truly is oily and has the unfortunate side effect of making your doll look like she has nappy no-shower in a week hair if you don’t wash it properly. You can see in the picture above that the doll hair on the left has this oily problem, whereas my freshly washed sample piece on the right does not. I spent quite some time google searching methods to degrease hair with no luck, so finally I just started experimenting with things until thank heavens I found something that works!

So here’s what you need to do to get that greasy, oily feeling out of your saran hair…..wash it with a dish soap that has a degreaser in it. It’s as simple as that. Most dish soaps on the market have some sort of degreaser in it, for me, we had Palmolive in the house so I just used that, but I’m sure any other quality dish soap on the market will work. After I gently washed the fibers in the dish soap I made certain to rinse the hair thoroughly, because obviously you don’t want to leave soap film in the hair. Here’s my tip though, don’t blow dry the hair afterwards. I found that with my test sample of washed hair that blow drying the hair caused it to get a static build-up with flyaway hairs. Letting the hair naturally air dry solves this problem, however it will take all day. 🙁 I even set my dolls head out in our 103 degree summer heat outside and it took her hair all the way until the evening to be mostly dry!

Well, that’s it for now, hopefully if you were struggling with this problem I was able to help you out! Look for more progress on my custom Draculaura soon now that I’ve “de-greased” her hair, lol.

Progress on sanding my Unoa Lusis.

I finally cleaned off my drawing table today so I could start working on customizing my Lusis. I decided to start with her secondary faceplate, the one that has it’s mouth open a little wider. As you can see from the pic above, her open mouth is asymetrical with the right side being more open than the left. I decided I would do some carefully carving of the left corner of her mouth to give her more symmetry. To do this I decided I would use one of my clay carving tools that has a curved bladed edge that whereas it is sharp enough to carve, it isn’t as sharp as a exacto blade. You can see the tool I was working with in the picture.

Read on behind the cut

Dollhouse Wainscot from Flooring Scraps

I’ve had these scraps of wood dollhouse flooring left over from trimmings from both the “Big House” ie my Pullip’s house as well as this 1/12th scale house. I had been pondering what to do with them for a while, and an idea came to me that I could probably transform them into wainscot for the 1/12th scale house. How I did this was to take the dremel and using a sanding bit, I just sanded off the edges off of each strip. It only took a couple passes at a low speed to get a defined dip between the boards to imitate the look of paneling. Anyway I think it looks pretty good, and it’s going to help me get rid of my leftover wood flooring. Also I like to be as frugal as possible, because dollhouse building sure can get expensive! Anywhere you can cut your costs is good in my book. 🙂

After sanding the boards I decided I would see what whitewashing them would look like since I had really good success with whitewashing the floor for the living room. It looks OK, but it got a little too wet and some of the paneling separated from each other. I think though that tomorrow I will just paint it straight white as the white wash doesn’t seem to go well with the paper that is already in the room. Anyway more pictures of the house are to come as I get more things finished.