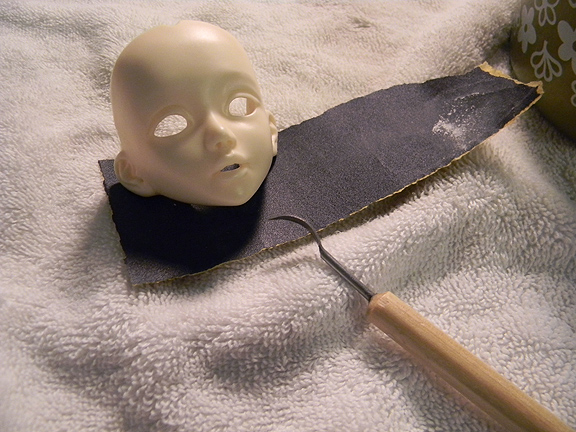
I finally cleaned off my drawing table today so I could start working on customizing my Lusis. I decided to start with her secondary faceplate, the one that has it’s mouth open a little wider. As you can see from the pic above, her open mouth is asymetrical with the right side being more open than the left. I decided I would do some carefully carving of the left corner of her mouth to give her more symmetry. To do this I decided I would use one of my clay carving tools that has a curved bladed edge that whereas it is sharp enough to carve, it isn’t as sharp as a exacto blade. You can see the tool I was working with in the picture.
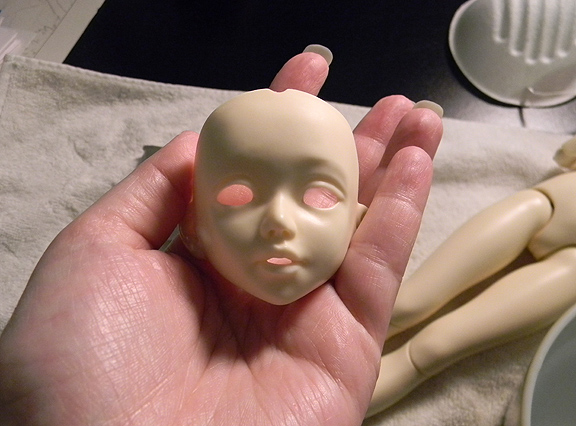
And now here she is after a little carving and gentle sanding. Her mouth looks much more symmetrical now right? 😉 It’s still isn’t completely perfect, but at this point I am reluctant to do any more carving since I don’t wish to have her mouth open any wider. As things stand now, I think with her teeth parts back in place she should look pretty good and any asymmetry would be hardly noticeable, especially with a good face-up.
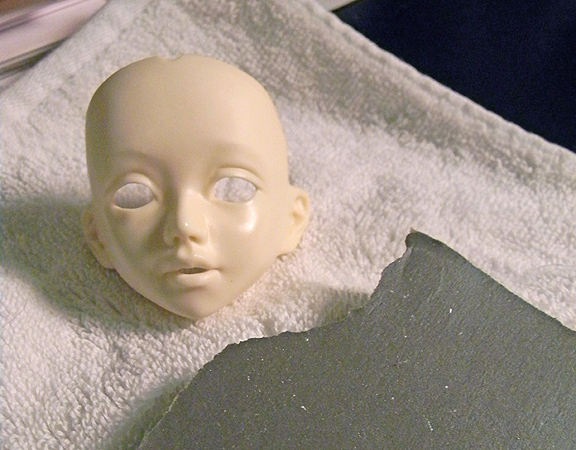
Aside from working on her lips, I also began sanding the edges of her faceplate which were rough, and her brow area which still had some slight bumps where her sculpted brows were. Her previous owner sanded the brows, but unfortunately wasn’t very thorough. I am posting this picture because you can clearly see how she has a nice smooth matte finish on her forehead, while on her right cheek you can clearly see the light reflecting off the semi-glossy surface of the unsanded resin. For reference I used a 400 grit wet-dry sandpaper to start and a 600 grit wet-dry to finish. I still need to head out to the store and get a 320ish grit paper for the larger seams on her body, but for now on tiny parts I’m finding the 400 and 600 substantial. I am also sanding her resin while wet so I don’t have toxic resin dust flying around and filling up my sinuses and lungs. To do this I just keep a bowl of fresh water at my workstation and dip my sandpaper strips and resin pieces in it to dampen and then sand in a circular motion. People seems to be divided as to what finishing grit you should use when sanding. Some people suggest you stop at 600 or 800 grit, while others will tell you to go as far as 1000 to 1500 grit. You need to be careful when sanding your doll because if you use too high of a grit and work the piece too much you will wind up with polishing your resin into a shine, and nobody wants a shiny dolly. ^^; So far I am finding that a gentle working of a 600 grit paper creates a very nice smooth matte finish that is not unlike some of my sanded dolls that came from the factory that way. I feel personally that I could probably stop there, but I do want to experiment with perhaps an 800 grit and see what the results are.
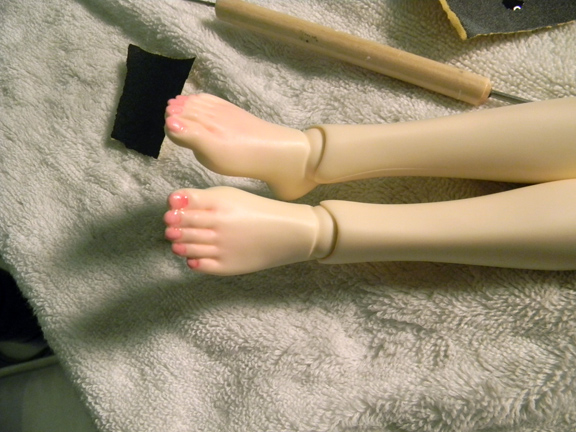
I decided then to take a break from sanding to start removing the blushing and pedicure from my Lusis’s feet. Here are her feet before. As you can see, the polish kind of runs together across all the toes and it’s pretty thick. The blushing was also done in a bright pink color as well. ^^;
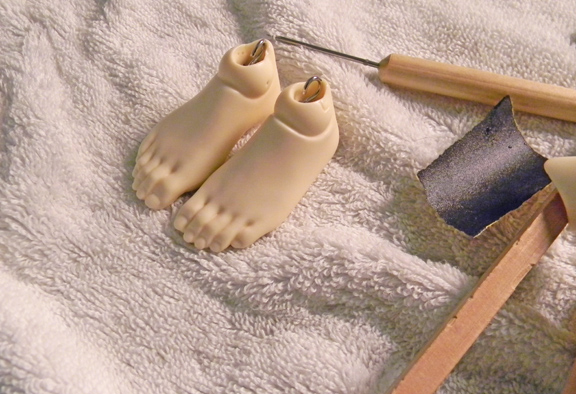
And now here are her pretty pretty feet all clean and ready to be sanded. Yay! I’m so excited. 😀 The more I work on this doll the more excited I feel about her prospects. I can’t wait to have her completed and fabulous. I also hope the weather warms up soon so I can use my Testors again and get a start on her face-up. 🙂

