
I had a chance to get more work done on the SD/SD17 scale roombox, and I’m really pleased with how things are going so far. Come tomorrow though it’s back to work so I’ll have to focus on that and if I get my work done early then I might have a chance to get a little more done. :3 Anyway the two main things I worked on since the base was created is I started painting the walls and I created the window.

I decided to pain the back wall of the room box a pale blue color. It was actually some paint we had leftover from repainting the bathroom. I really like the color and since I plan to do a pastel shabby shic, beachy sort of room I thought it would work well.
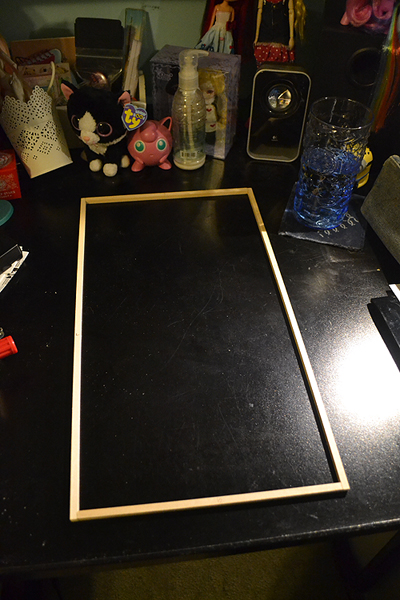
While I waited for the paint to dry to add more coats of paint to the back wall I started constructing the window. Above is just the frame of the window. Previously I had always framed out the window directly onto the window cut in my other dollhouses. This time however I decided that I will create the window entirely and then just seat it into the window cut when I am finished. The main reason I am doing this is so I can use pin hinges for the window. If you don’t know what pin hinges are, they are basically hidden pins that hold together the window to the frame and allows them to pivot. For more information, just google dollhouse pin hinges and some great tutorials should come up.
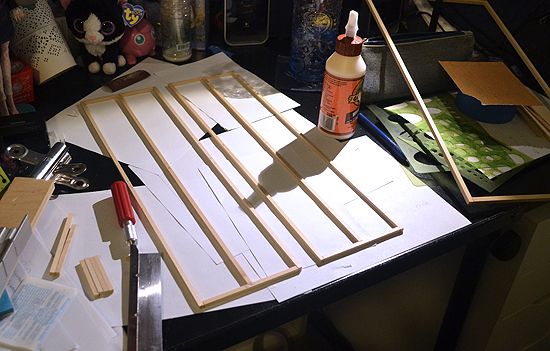
Here I have two window panels made and I’m preparing to glue in all the sash crossbars. Both of these panels fit inside the frame which is off to the side.
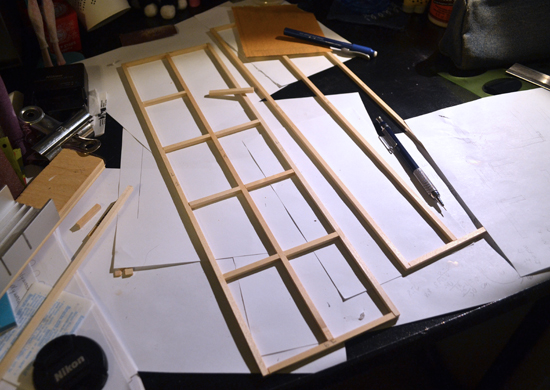
Here’s a bunch of the sashing being done.
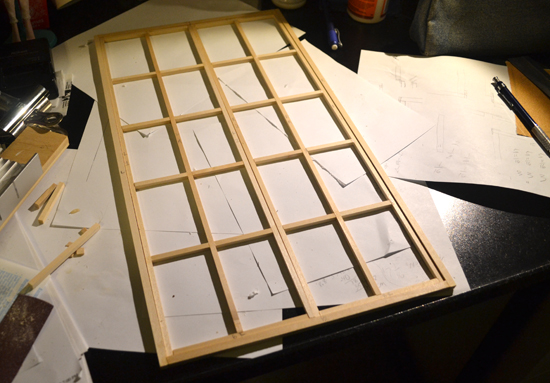
And here it is completed! At this point I start sanding any trouble spots, and I also want to make sure that the window panels will be able to fit nicely together and also be able to open freely. Normally something gets a little off when creating a window so I have to do some sanding on the sides so the window panels don’t fit so tightly into the frame. After sanding everything I started on painting the window frame and panels white. I don’t have any pictures yet because the one shot I took turned out a bit too dark. XP Anyhow I will say though that when painting the window and frame I use acrylic paint that I thin down a little bit. You want it to be thick enough to coat, but also thin enough not to be clumpy or build up horribly. That small fraction of a millimeter of paint on the window could make the window fit too tight again, so it’s best to start with thinned paint and build up slow even coats of paint.
I should also mention that I started painting the side wall white, and I think I’m going to play around a little bit with beams and paneling on that wall. Well, that’s pretty much it for now. I plan to work on it a little more tonight before bed and then if I can get my work done early tomorrow maybe I can squeeze in a little more room box time. 😉